
Heartlake Amusement Park's overall theme is "Space" and this set gets Olivia into her
very own rocketship for a Space Ride!
Spinning around an orbit of the crystal chamber, the 3 rocketships launch and then spin
higher with centrifugal force.
Let's see how confident in this build she is to flash a smile at the camera for a keepsake photo!
This set was provided by the AFOL Relations & Programs team (AR&P) of The LEGO Group for the purpose of sharing set details with fans.
Opinions provided here solely reflect those of our reviewer.
Photographs are property of Friends Bricks and are not directed by TLG in any fashion.
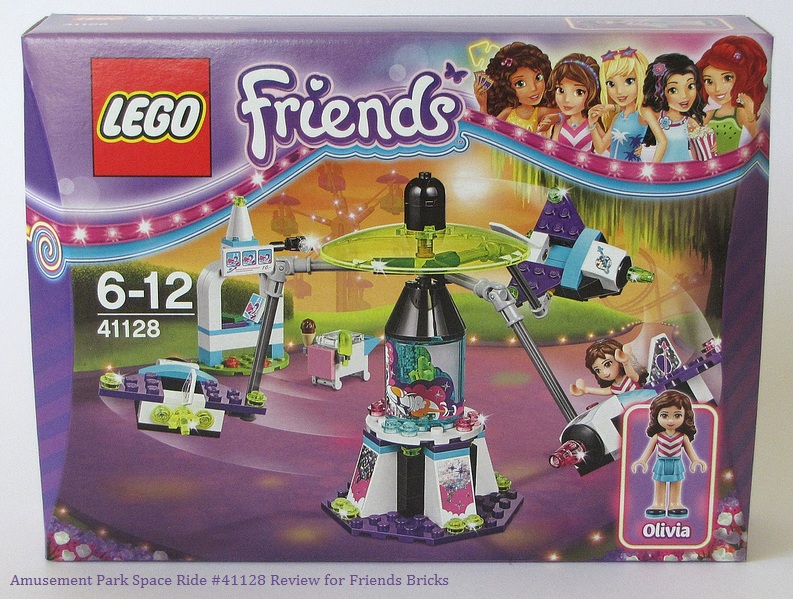
The box's ribbon graphic is tailored to this sub-theme with fairground lights trimmed in neon that forms a swirl at the flange.
The girls all have fun-park attire or items in their top right appearance. The yellow neon arrow sign above Andrea points to some fun and appears on other items in this sub-theme. The subdued monotone stripes on the flanges also echo Olivia's top.
Lights, sparkles, and other rides in the background lend to the action excitement this year.
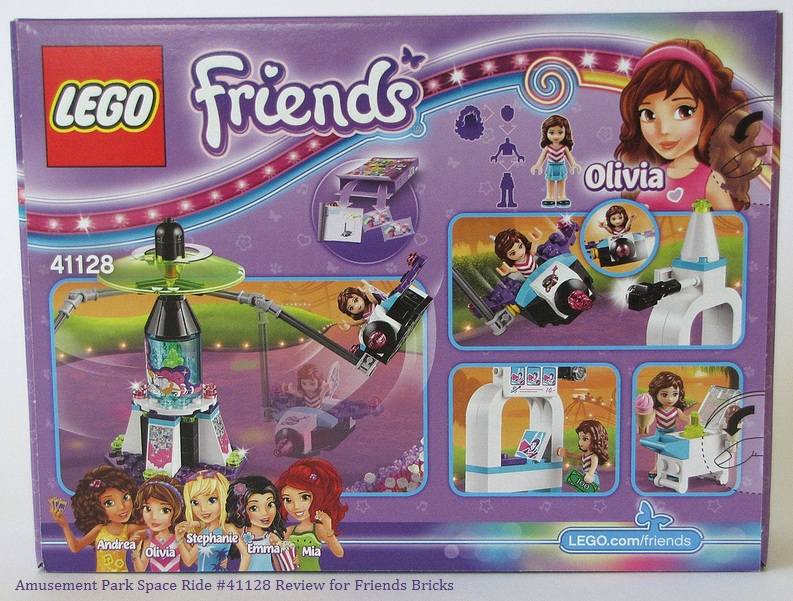
The ribbon graphics continue around to the back of the box where we can see a demo of the rocketship lifting higher, the camera stand, and treats for returning to terra firma.
Again, the neon swirl helps designate this as an Amusement Park set.
Side of the box shows another angle of the neon swirl and a inset image of the set framed in glowing neon. It's especially fitting for this ride, since neon is the inert gas which is lit by becoming excited by electrodes on each end of the glass tubing, causing the gases to 'glow' and present color based on the color of the glass itself. (Yay for my middle school Science Fair project being about Neon :-)
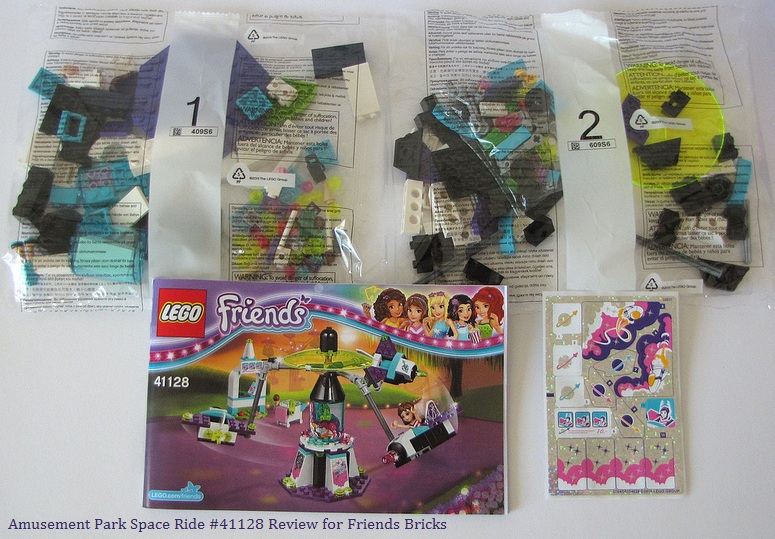
Contents of the box are: 2 bags of parts, one instructions booklet, and one super shiny sticker sheet.
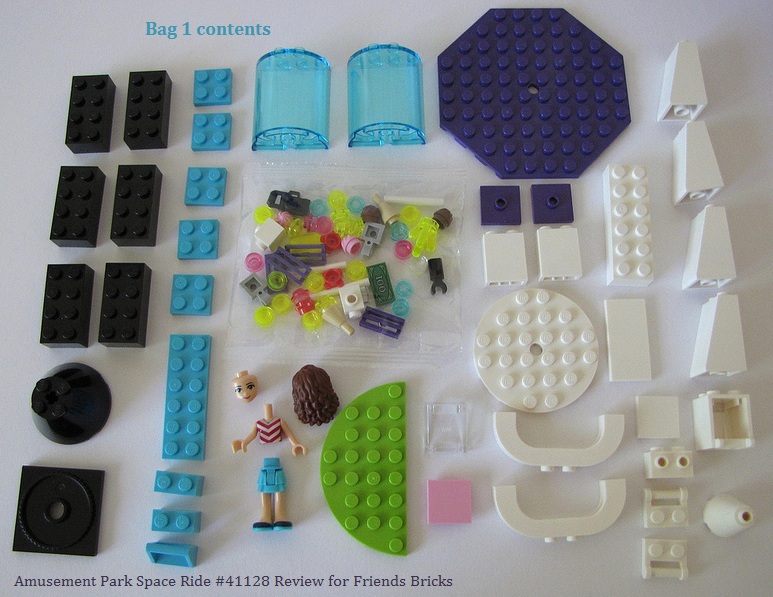
Bag 1 contents: transparent light blue wall elements (half cylinder pieces) are intriguing; the medium lilac (purple) 10x10 octagonal plate is always welcome; otherwise not new or unique parts, yet all useful to have for future building. The bright yellowish green 1/2 circle plate is a good choice for a grassy patch under the photo booth and blends better with the trans fluorescent yellow of the canopy than standard green.
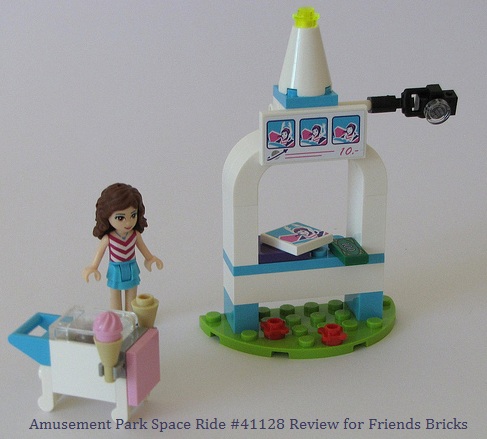
Build first begins with Olivia, then the ice cream freezer cart, and then the stand the camera is mounted to for clicking a photo during the ride.
Very straight-forward builds with fun techniques. I actually like the cool treats freezer using the plates with sticks pieces instead of wheels, so it doesn't accidentally roll in the way of a ride.
Although I'm no fan of stickers, I suppose having these tiles printed for such a limited use isn't practical.
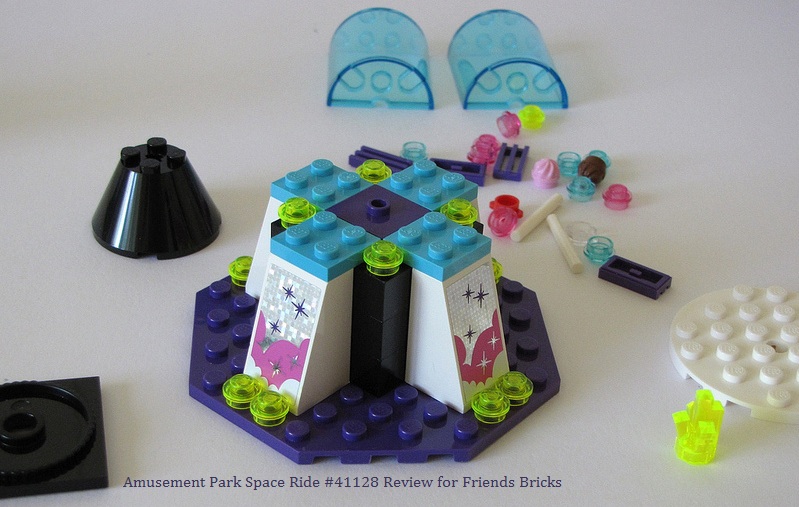
Next we build the ride's base which has 6 black 2x4 bricks cross-connected for maximum sturdiness. The stickers on the base's support legs reflect being in space above the clouds into the stars.
The 2x2 purple (medium lilac) tile with stud hole is the final insert point for the energy crystal's staff.
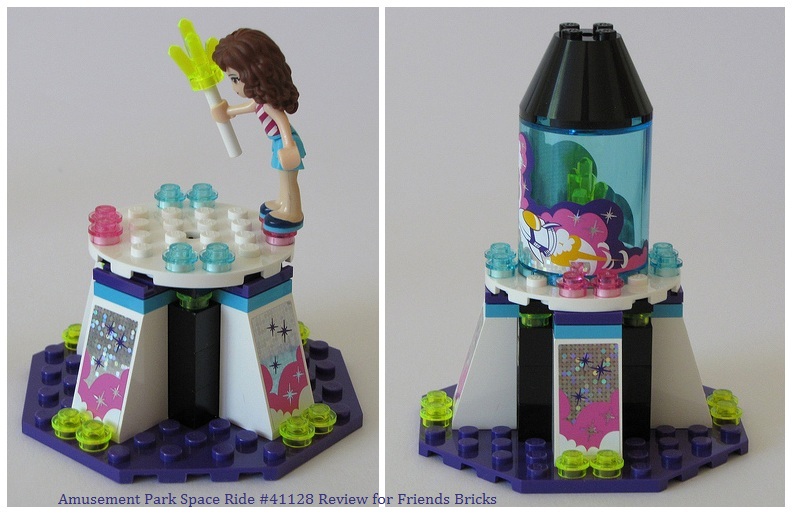
After the black turntable plate and white round plate get added, Olivia is helping to insert the energy crystal (without spinning the plate, of course ;-).
Now you can see the fluorescent yellow crystal in the cylinder chamber at the core of the ride.
There are 2 different rocket-in-space stickers for the trans blue cylinders.
You can also see how reflective the stickers are in representing outer-space with multi-facet prism background similar to solar panel voltaic material.
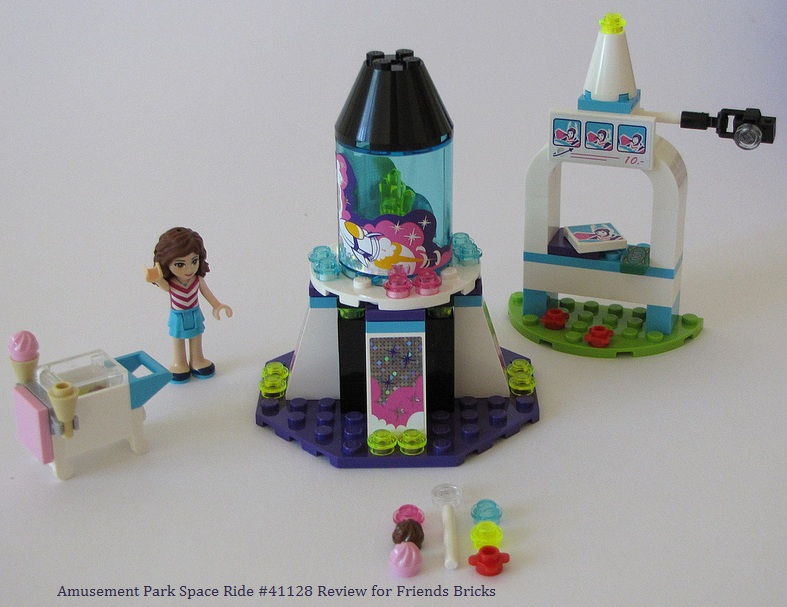
This is everything Bag 1 builds (along with extra pieces laid in front -- Olivia seems to be concerned about the strawberry and chocolate ice cream scoops melting on the ground ... well, it is a carnival fairway).
The tile on the upper part of the camera stand shows the various images taken during the ride for riders to choose from to purchase for ten dollars; she chose the "reach for the sky" snapshot.
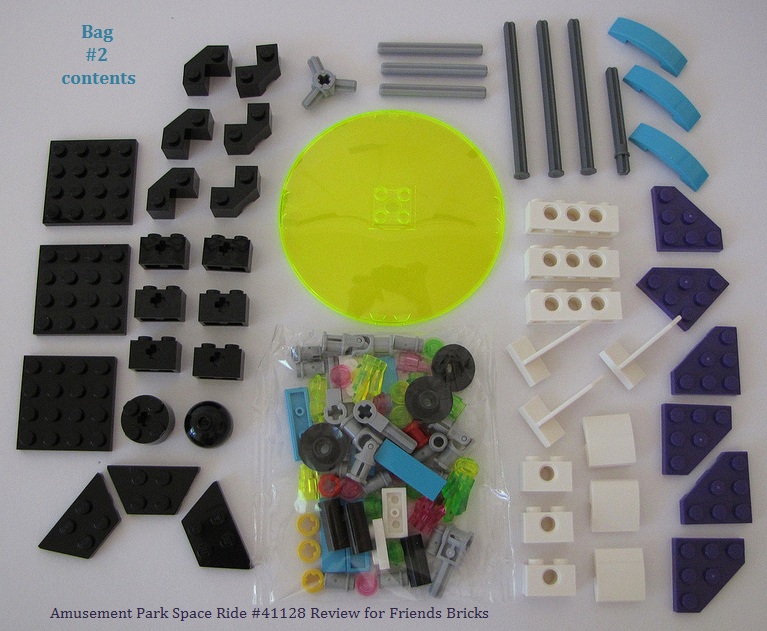
Bag 2 contents: we find lots of Technic, such as the 3-Branch Cross Axle W/Cross in medium stone grey, 3 cross axles also in medium stone grey, 3 cross axles with end stops in dark stone grey, and one cross axle with stop also in dark stone grey; one fluorescent trans yellow (green) Dish Ø80X9.6 will be the canopy of the ride, which is a new in this set; the rest are all common, yet useful bricks and the inner bag holds crucial parts for the working mechanism of the ride -- see next photo for those.
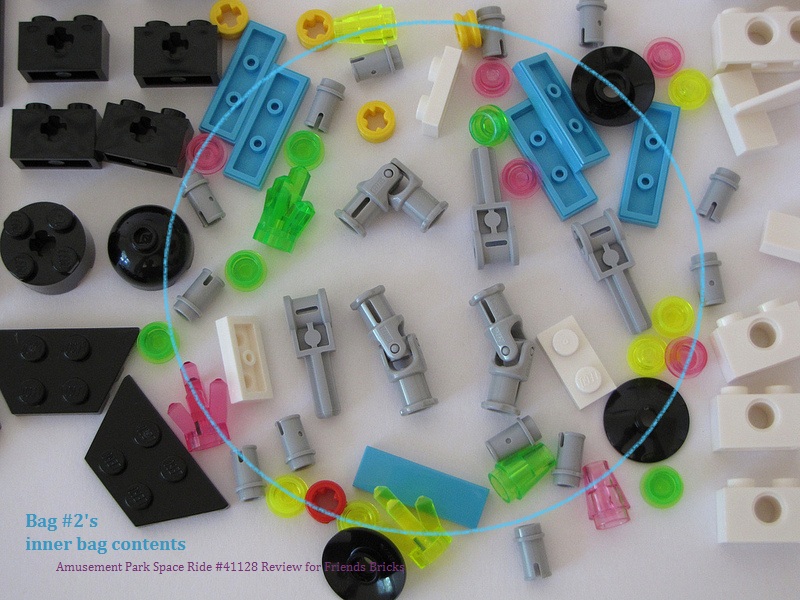
Bag 2's inner bag holds the Technic hinged pieces (in center of image) that allow the rides beams to swing upward, they are aptly called "Propeller Shaft" to connect the arms attached to the ride's base to the arms attached to each rocketship.
Left of those is one of three "catch" parts which will connect the rocketships to its beam arm. (They look a little bit like Thor hammers ;-)
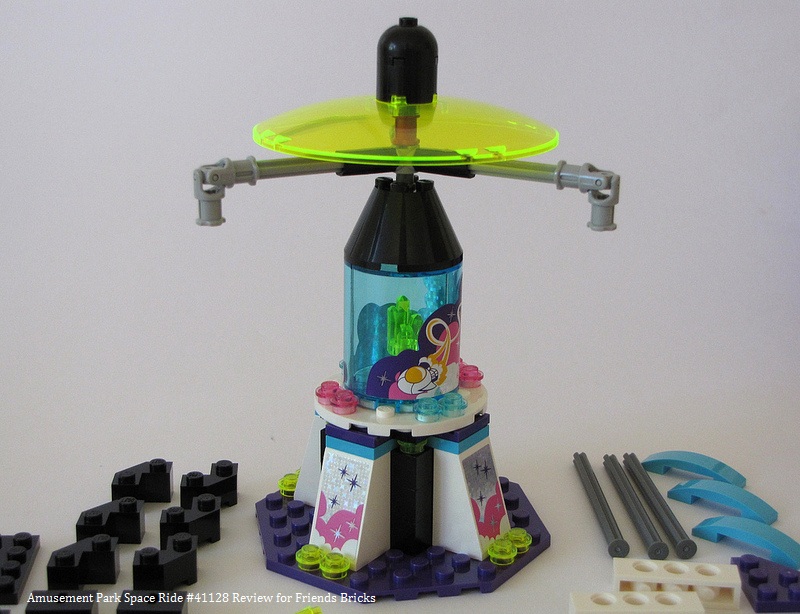
With all those Technic axles connected, we add the canopy and dome ... it's getting a bit BLACKTRON in here!
Note that on the instructions page for these steps, it looks a little like the top studs of the canopy (dish) get black 1x1 round plates, yet, it's just the technical drawing to help show there are tops studs on that piece.
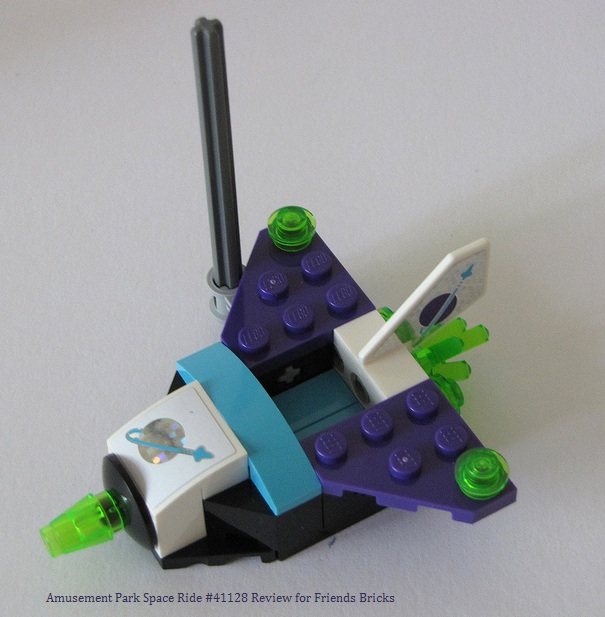
Next we get to build the rocketship, Rocketship, ROCKETSHIP! Yes, three! Each get their own color-coordinated nose cones, energy crystal thruster blasts (which rotate too, thanks to Technic pins), and lights, and stickers with the Friends version of the iconic LEGO Space logo!
Although the trans-green ship gets a blue sticker, the pink and yellow ones do get same colors. As I have already mentioned, not being a fan of stickers -- the front sticker onto the slope goes on easy, however, take your time with the tail fin sticker since it's die-cut to fit snug on the diagonal shape (and yes, only on one side).
These little ships are so much fun to build, I could easily build 3 more! The medium azure bow really does serve well as a safety bar holding the rider in the rocketship -- no matter how fast I spun it! (See later in the review ;-)
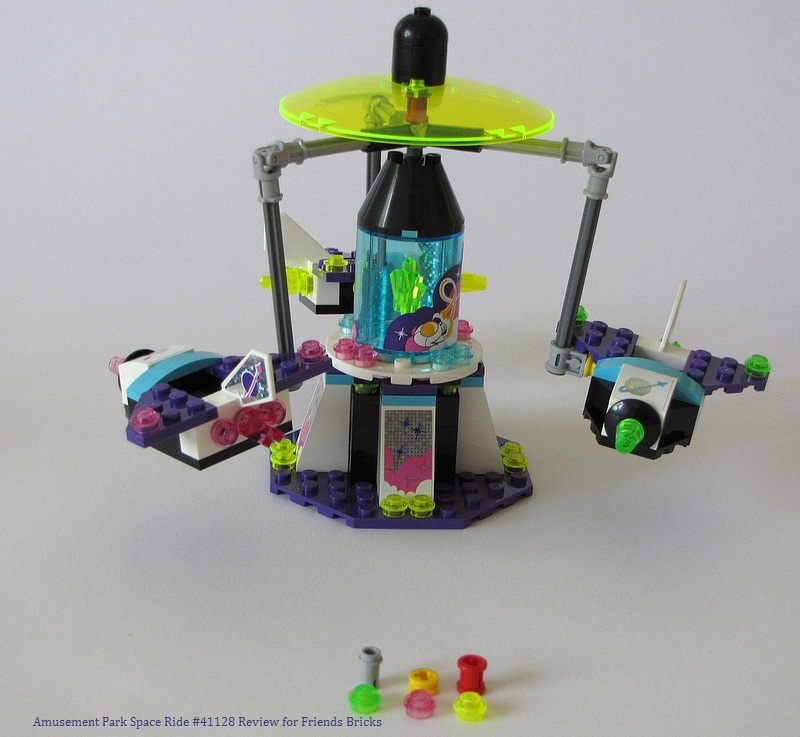
Now we have everything bag 2 builds, with extra bits up front. I love the whole "Blacktron meets Friends" vibe and the energy crystal inside shines just right.
Rides at parks these days have to gain attention for people to notice -- with all the glitzy lights, sights and sounds all around the fairway -- and this Space Ride is certainly an attention-getter!
I suppose they could have added canopies/windshields to each rocketship like the ones depicted in the sticker art, yet without them it's easy to enjoy the breeze as your ship goes up, plus the camera might have a hard time getting those "reach for the sky" poses.
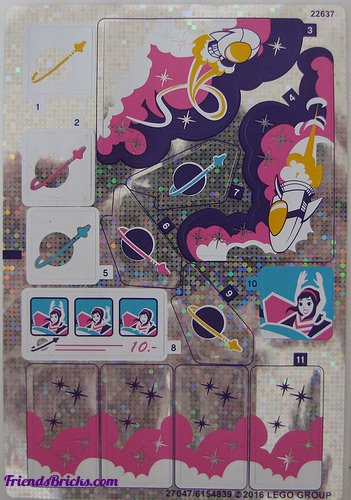
The sticker sheet is very reflective and somewhat hard to photograph; the multi-hued background comes through in just the right spots under the printing to allow each section they're placed on to have a 'spacey' look.
Although the sticker for Olivia's final photo she'll buy from the Space Ride is fun, it does remind me a bit of "Flo from Progressive" which make me chuckle.
At least these types of stickers with a metallic aspect are somewhat forgiving and peel back off fairly easy, to allow for correct placement -- if not achieved the first attempt. Whew!
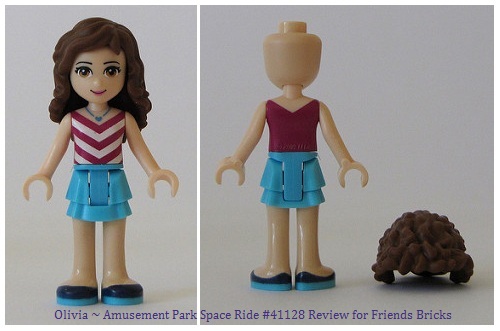
Olivia has a new chevron-striped shirt in white and dark red-violet, with an azure necklace that looks a bit like turquoise gemstone and it coordinates with her medium azure layered skirt. The back of the top mirrors the same v-shaped neckline, yet in solid magenta. It's also in the Roller Coaster set, with Nya wearing it.
For me it's sort of a throwback to a 70s style, which is fitting considering the whole Heartlake Amusement Park seems nostalgic in attractions and rides.
It's more carnival-blend than modern high-tech rides seen at many of today's parks.

This double-page layout in the instructions booklet shows most of the other rides along with fun activities Heartlake City residents can expect when they get to the park.
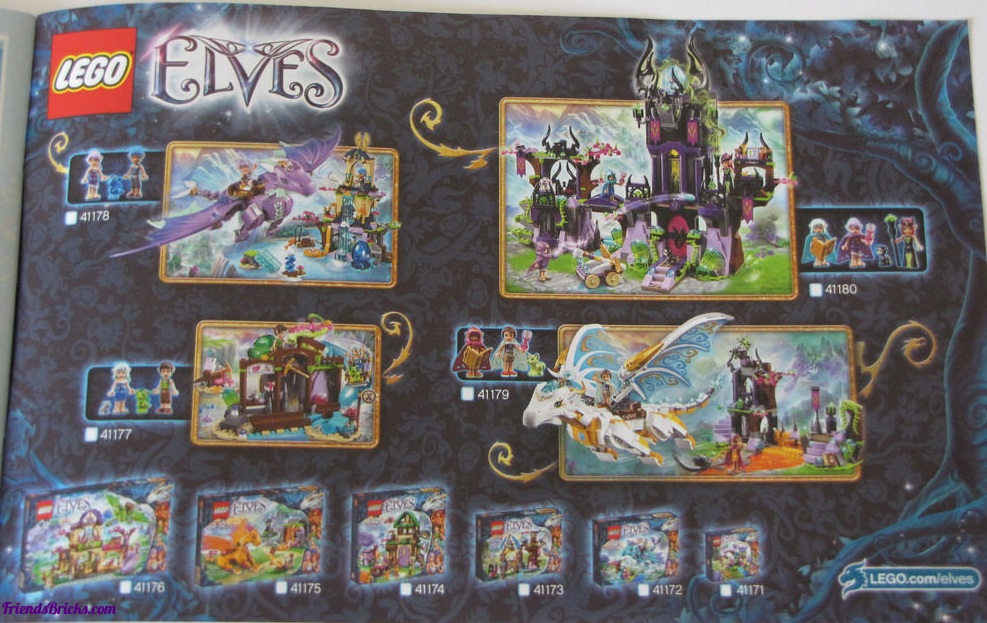
Instruction booklets have always been smart places to share news of other themes -- and this LEGO Elves page does just that -- with lots of glowing green to come!
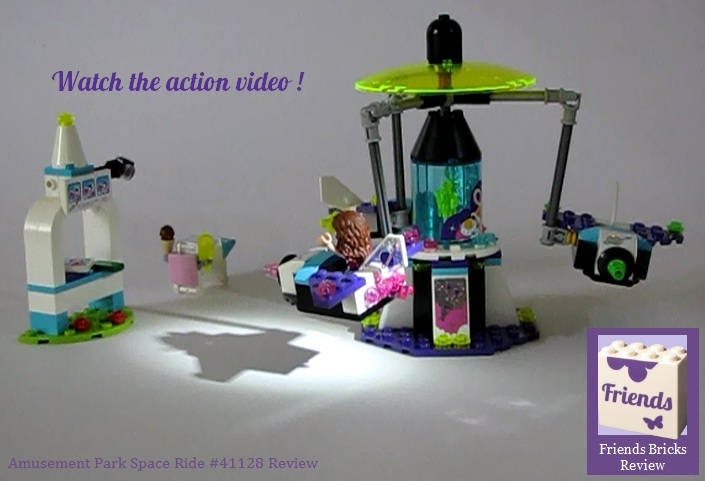
With the set built, no fan could resist spinning it! Still photos are best for piece and build sequence presentation, yet I decided to add a quick action video to demonstrate the effect of centrifugal force on the rocketships when spinning the axis of the crystal-chamber-base.
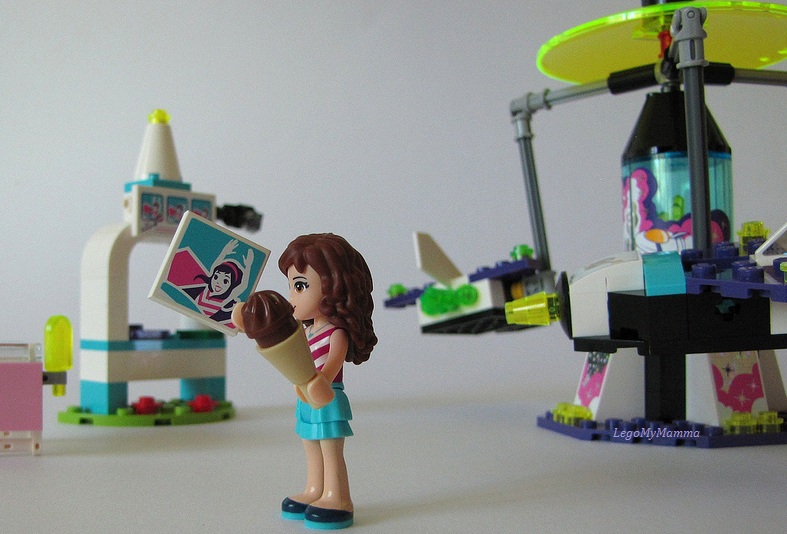
Olivia is enjoying her photograph from the Space Ride and a chocolate ice cream cone after her flight.
For a medium set, this Space Ride offers realistic details and build techniques to pique spatial skill-building for any fan.
It may be possible to add power functions for this ride to move on its own. Although it might require gears inside the base, which could make it less solid. As long as it's connected to a larger base plate, it should be fine.
I'm sure some fans are already planning this conversion for their own rocketship ride!
So, if you like Friends + action sets, this is for you. Build a memory of your favorite park ride.
Brickset's inventory database imported from TLG was used to verify some part info.

1 comment:
Friends+Action ship+Olivia+Space. It hits ALL The best spots!
Post a Comment
Note: Only a member of this blog may post a comment.