
Rescue in the Jungle! Fly the helicopter with Mia while Matthew provides ground support to coordinate the stretcher hoist to save Baby Bear. Matthew is ready with a medical bag and supplies in the rescue Jeep. Those rocky cliffs look dangerous and we don't know how long that rickety bridge can hold!
Let's see how the scene develops brick by brick.
The FriendsBricks community wishes to thank TLG’s CEE Team for generous support of this set to review and share with fans.
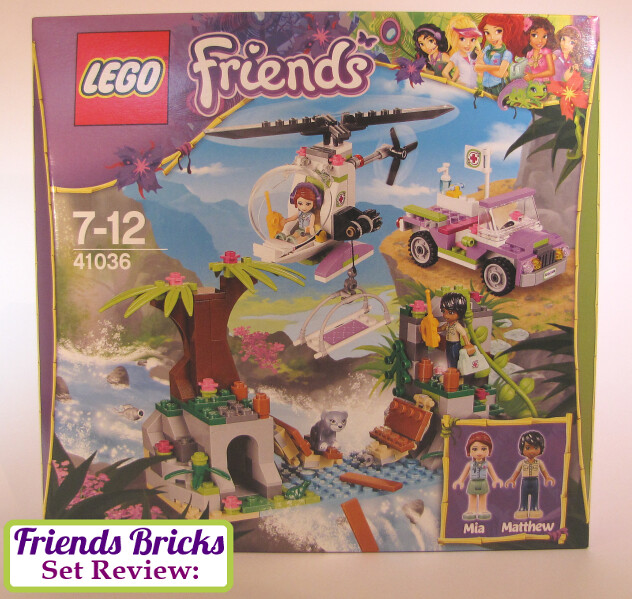
Box front - the first thing I noticed is the flanges are one purple and one green, framed in Bamboo
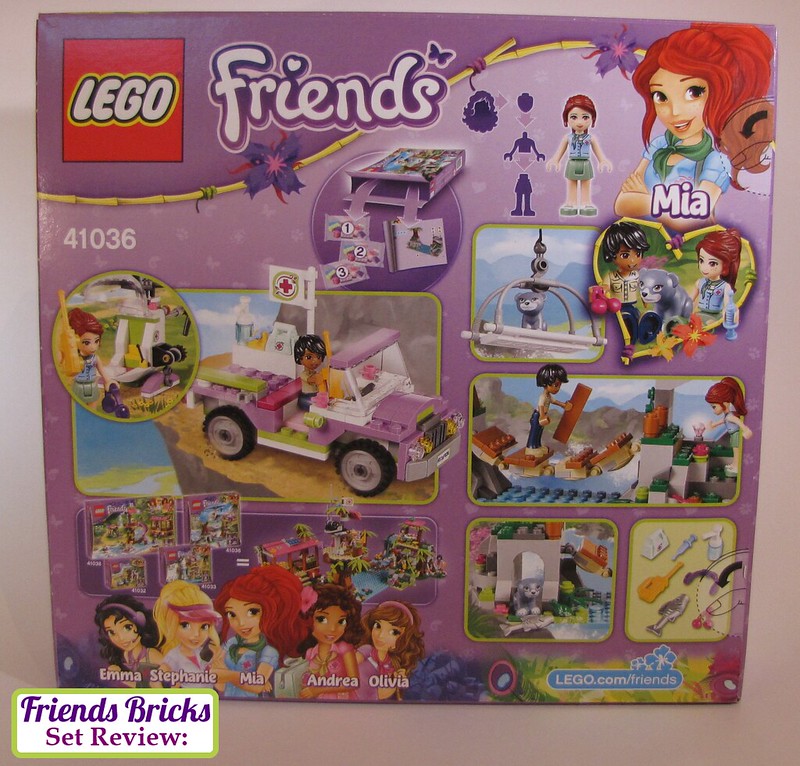
Box back - so much new fun to look at here!
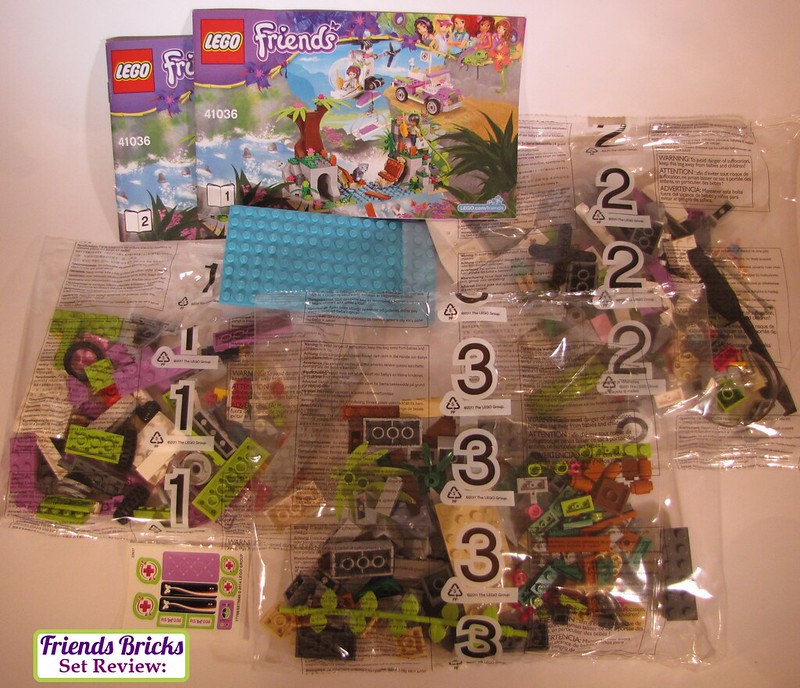
Box contents - 2 building instruction booklets, 3 bags, 8x16 baseplate, and stickers
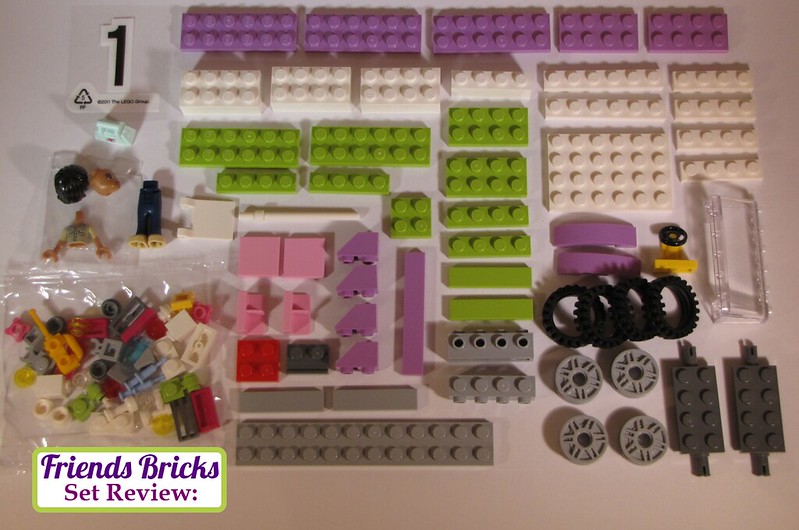
Bag 1: (with inner bag)
Special pieces - new to Friends for 2014:
Medium Lavender Slope, Inverted 45-degrees 2x1
Slope, curved 4 x 1 double no studs in Medium Lavender (laid above tires in pic)
Medical bag with Jungle Rescue logo printed, although bag not new, first found in Heartlake Vet
Matthew's Khaki Shirt
Walkie-Talkie in Bright Light Orange, although walkie-talkie piece not new, just color

Bag 1 build
The Jeep:
Solid chassis base of all those lime green plates as one layer above the core under-plate, wheel axles and bottom 2x12 plate connecting those -- which results in the sweet lime green strip around the entire vehicle. The lone red 2x2 plate gets hidden under the medium lavender hood (new slope pieces), as it is a 'hot' engine block. I like that; they could have easily used gray or any other color.
The front bumper is simple, yet a design that results in a realistic look -- equipped with fog lights
for a Jungle terrain.
It's equipped with mini-doll footplates, so it seats two; although the small steering-wheel piece ends up centered. I prefer a larger gray steering wheel mounted on one side.
Jeep is a straight-forward build that took me about 15 minutes. Keep in mind I was also absorbing how the instructions are written (very easy for first time builders); I'm not a real follow the "instructions" kind of person, so I was making sure I didn't get ahead a step and have to break out the brick separator.
The wheel rims go with lugnuts out, not fancy spokes side. Those minute details do alter the overall look.
This Jeep is on-par with any LEGO vehicle of its size. I think it will be a hit!

A look at the other side. The medical bag only has the new 'Jungle Rescue' logo on one side; I turned it around for a better capture of it.
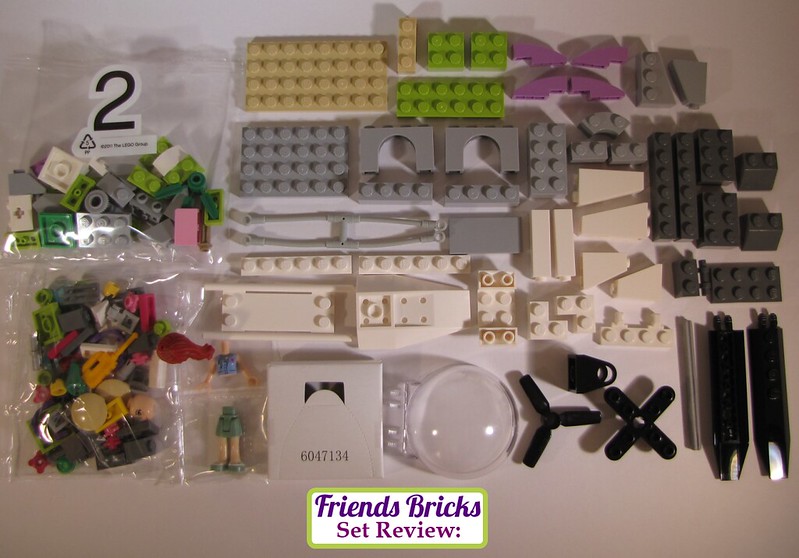
Bag 2 contents: (with inner bags)
Special pieces new to Friends 2014:
- Stretcher sling harness in grey rubbery plastic
- Helicopter canopy/windshield, Main & Tail rotor blades
- Mia's Jungle Rescue logo shirt
- Light Bright Orange walkie-talkie
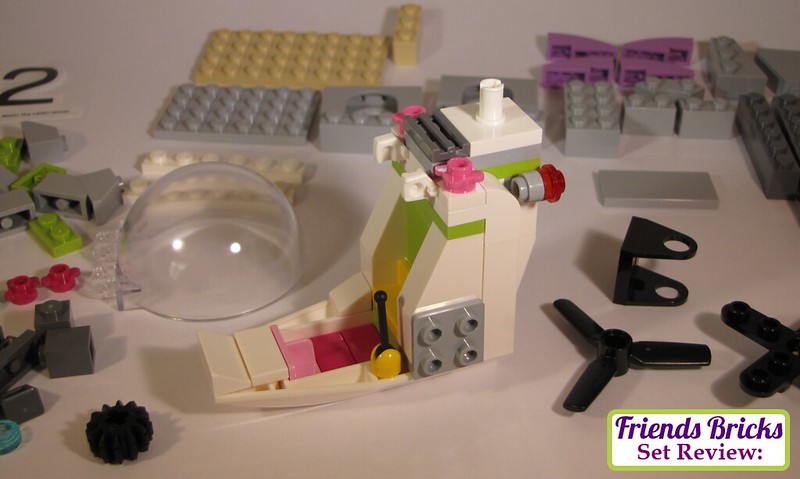
Helicopter build - the cockpit section
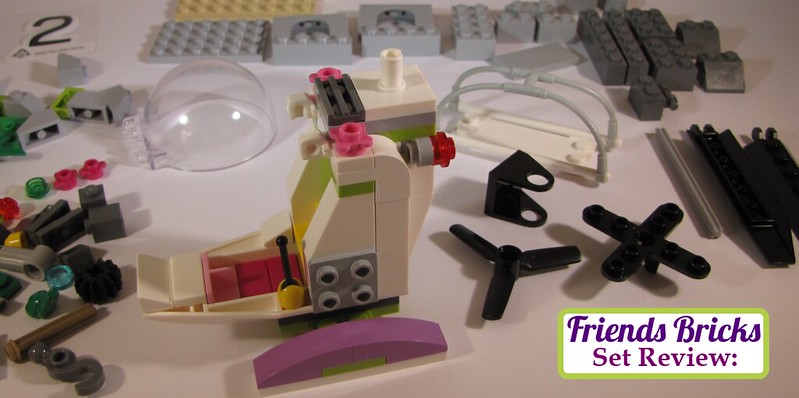
Helicopter build - with skids added
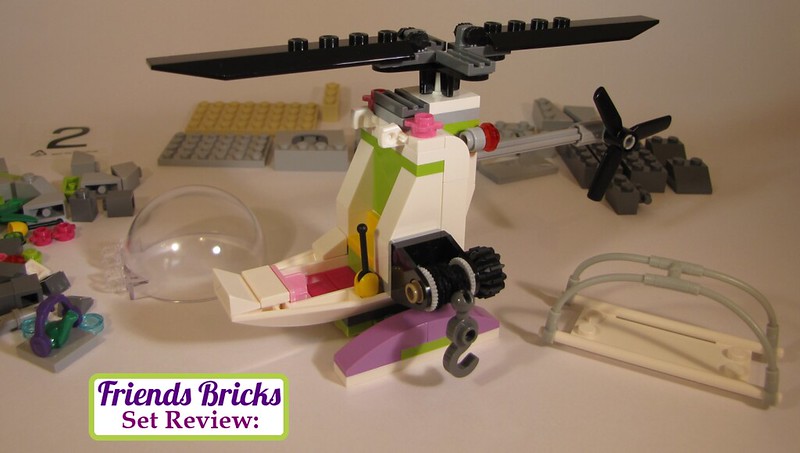
Helicopter build - with main rotor, winch, tail section, tail rotor (Frog is helping with a com-check)
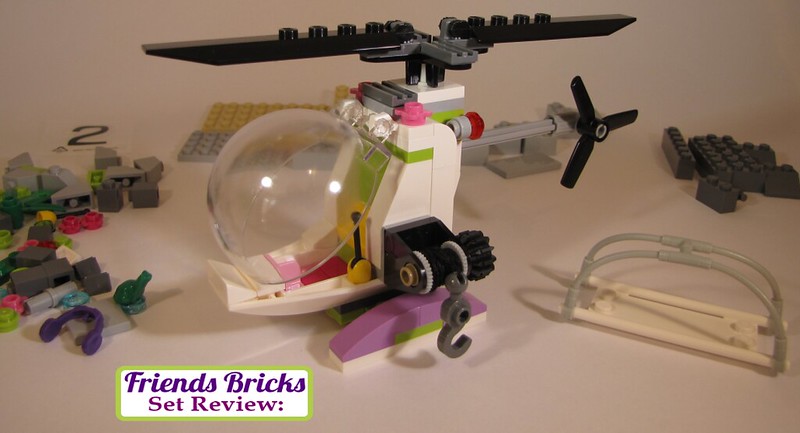
Helicopter build - completed helicopter with stretcher
Bag 2
The Helicopter:
A solid brick construction of the cockpit section and fuselage behind the pilot's seat, where the engine would be housed out-of-sight. The skids build instructions are displayed as studs down, as the pads on bottom are 2 tan inverted dishes. It's a cute little helicopter, similar build and piece count to many LEGO CITY police helicopters.
The fuselage/tail boom is a long technic axle and the tail rotor connects using technic pin and parts to allow free rotation.
There are no synchronized elevators for horizontal stability, however the main rotors do allow for tilt, just not pitch-angle adjustments.
After building the cockpit section, the instructions want the builder to then attach canopy (clear bubble piece) windshield -- yet I delayed this step because it's easier to pick it up with that piece off, to attach the next parts: the skids, the tail boom (fuselage) with tail rotor, and the hoist winch.
I attached the bubble canopy last so didn't get too many finger-prints on the 'glass' while completing the build, plus raising and lowering it. It has 4 click positions.
The red and green notification lights are placed correctly. Red on right has right-of-way -- meaning that as you see it from coming across the sky, if you can 'see' the red light, that helicopter is on 'your' right and has the right to pass in front of your helicopter.
The stretcher's gray hoist cables are made of the same rubbery plastic as the mini-doll hair.
The dark tan technic axle secures the black string into the spool piece, which is nice so we don't have to 'tie' it off as we must do when connecting the hook piece.
Overall this helicopter could be built in any color using commonly found existing LEGO bricks. The only minor aspects I would change would be adding a clip piece as synchronized elevators and adding a couple more slope bricks to build-out the fuselage a bit more from cockpit onto tail boom. The long technic axle piece sticks into the back receiving brick only the depth of that opening. The entire tail section actually fell off when I picked up helicopter to move it for another photo.
Loss of tail rotor thrust to counter-balance the main rotor would result in a "May Day" call.
Flying this for observation and rescue would be great. It is similar to the MD-500 class, or OH-6 Littlebird.
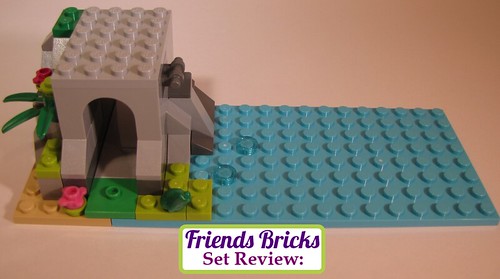
Bag 2 bricks after building helicopter build the left cave/cliff area
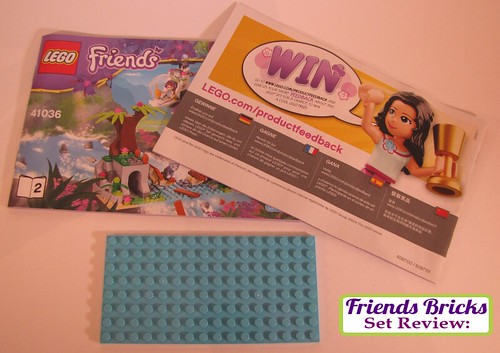
Also in box:
Two instruction booklets (booklet one back cover has Emma talking about giving feedback;
booklet 2 back cover features Creator Forest Animals set with a Monkey and Toucan)
8x18 Medium Azure base plate
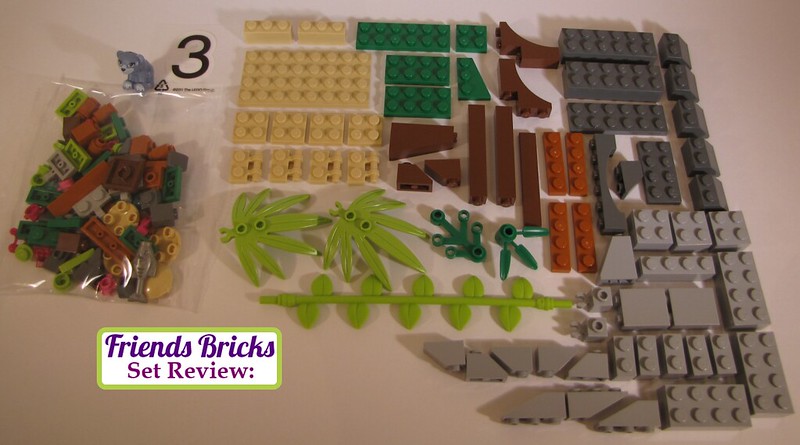
Bag 3 contents: (with inner bag)
Special pieces new to Friends 2014:
- Lime green rubbery Vine piece
- Lime green Palm tree leaves
- 1x4 plates in Orange-Brown
- 1x4 tiles in Orange-Brown
- 1x1 round 'cylinder' bricks in Orange-Brown (also in Jungle Falls Rescue)
- Bear cub named "Blu"
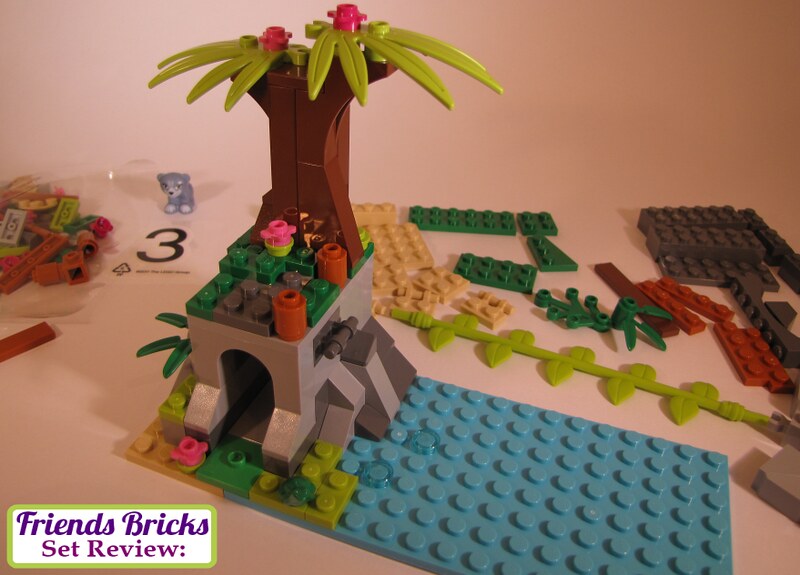
Bag 3 contains bricks to continue building the left side rocky cliffs
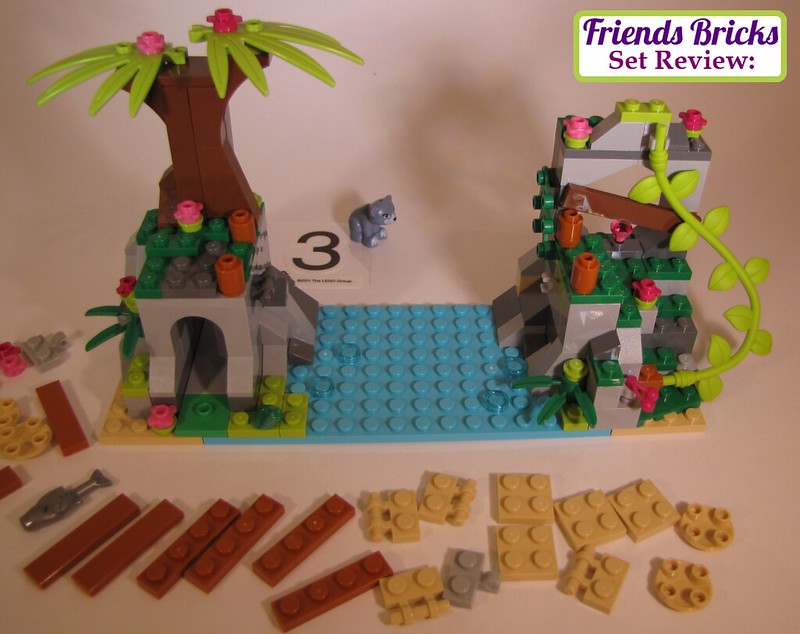
Section of rocky cliffs and river before bridge built
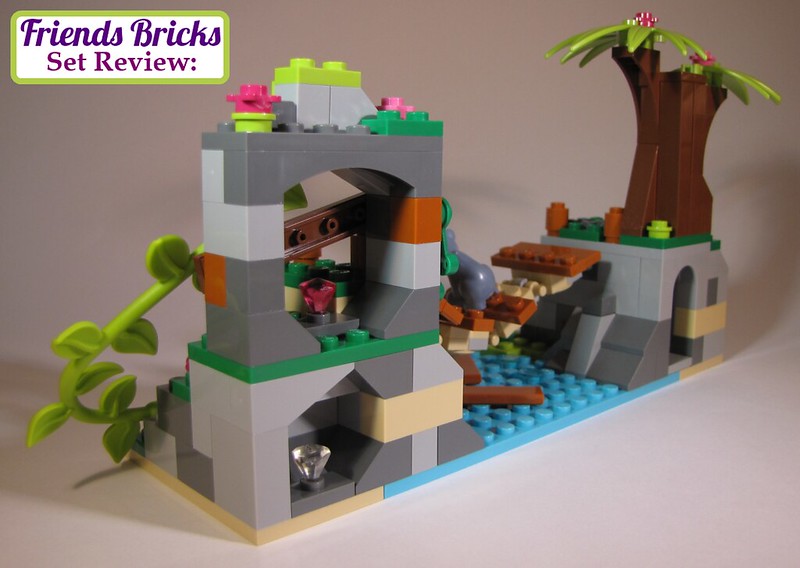
Back of cave there is a Diamond hiding!
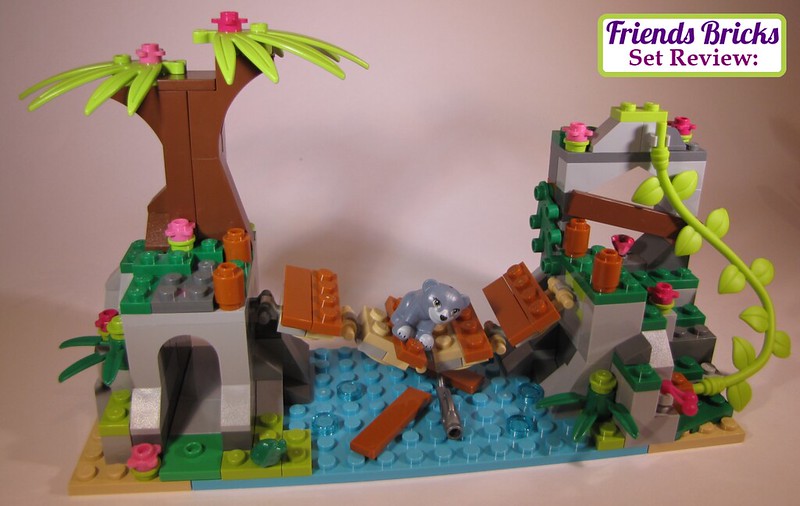
Baby bear on the rickety bridge after that fish!

Set build, close-up of "Blu" on the bridge, also a hiding spot on the left, in the cave
Bag 3
The rocky cliffs and bridge:
The right side rocks continue being built and then the bridge. Of course in this scene a few boards are 'missing' and have fallen into the river below. Also in the river is a fish, which is why baby bear is on the bridge. Oops -- it's a bit shaky!
Time to call for rescue!
While Matthew maintains visuals on the bear, after driving down from the mountains when he heard a cry, he radios to Mia. She flies in at treetop altitude to make sure the stretcher can be lowered in the best spot.
The rocky cliffs, caves, crevices and secret hiding spots for gems is super fun to build! The Designers did a great job alternating colors for realism, as well as more enjoyable to follow instructions -- due to all the angles slopes. The foliage tucked in is also a nice touch. Of course the new vine piece (which is rubbery like mini-doll hair) is fun to bend into place!
Building the bridge and leaving off a few boards may get to some OCD builders. It's a good technique linking the sections that will teach new LEGO builders some skills.
Everything about this last bag was a blast. Especially getting to finally act out a rescue scene!
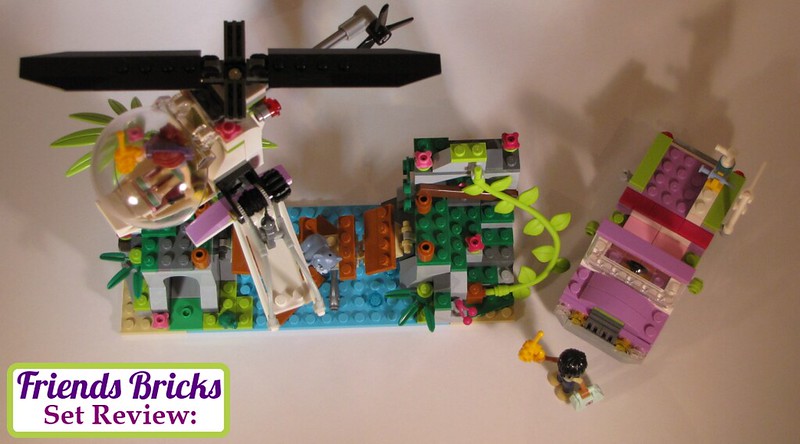
Ariel view of set build
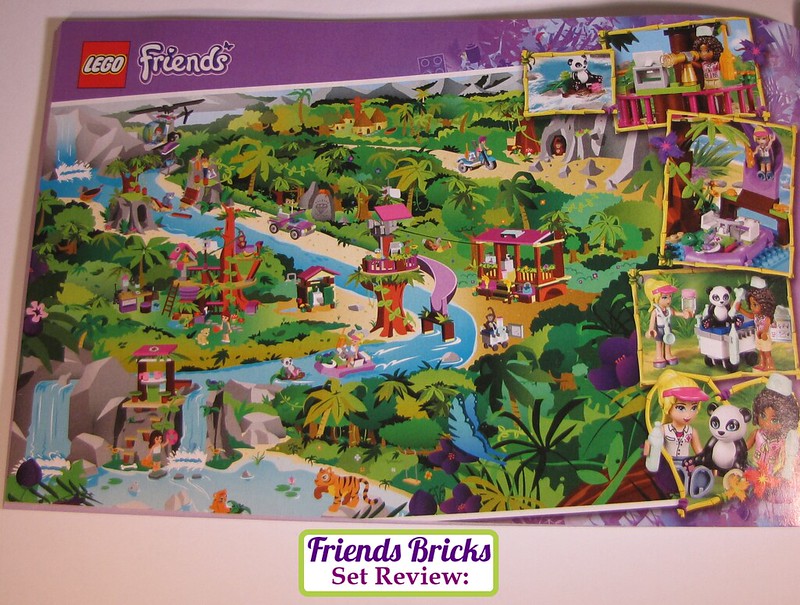 Jungle map
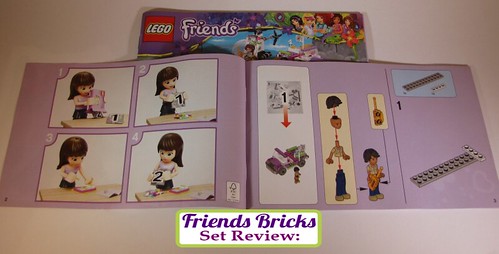
Inside the instructions - I really like the illustration of the mini-doll being the 'builder' instead of what
the instructions used to have inside 1st page to remind fans to build on hard surface, not carpet.
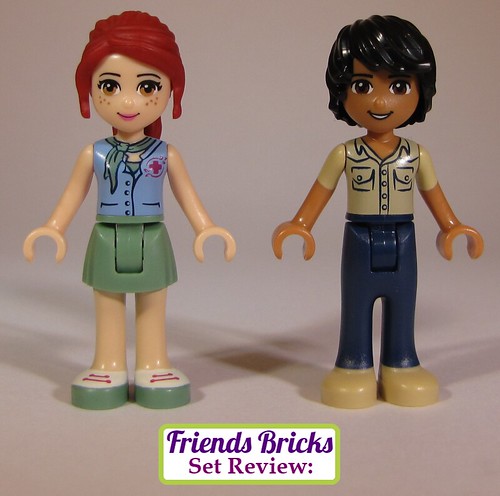
Mia and Matthew mini-dolls; new Jungle Rescue logo shirt and Bandana for her
and Khaki shirt for him
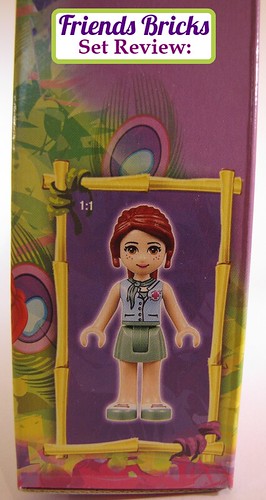
Box side detail showing Mia's new rescue shirt -- I love the Peacock feathers, tropical flowers and Bamboo frame!
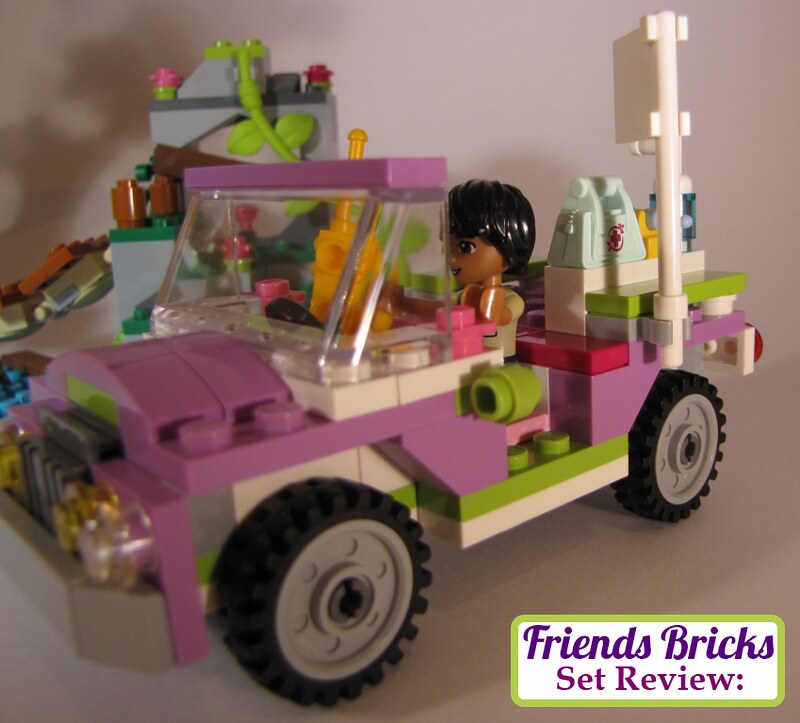
Matthew in the Rescue Jeep
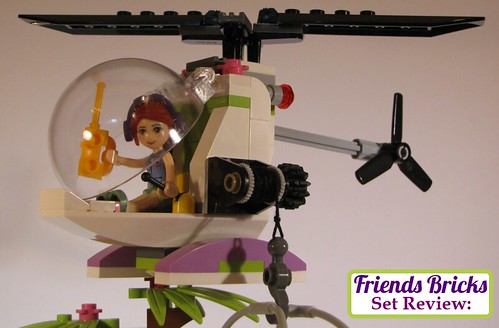
Mia piloting the helicopter: It is a really fun helicopter to build! Technically her right hand should be on a cyclic, rather than holding a walkie-talkie (that's what the head-set is for). The cyclic [sometimes referred to a joystick] controls the main rotor tilt for controlling the helicopter's flight direction. Foot pedals control the angle-of-attack (pitch) of the tail rotor blades (so that helicopter can fly in straight). What she controls in her left hand is called the collective; it adjusts the pitch-angle of main rotor blades for lift, as pilot raises or lowers it. The grip piece is a cylindrical shape around it is the throttle (adjust with wrist twist) for engine RPM (speed).
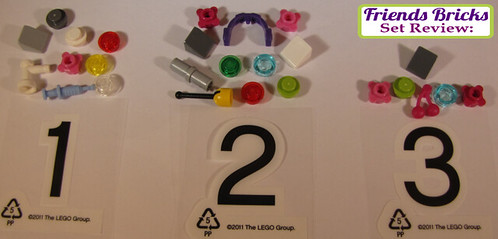
Extra pieces
For me this was a fun build for many reasons and I can see this being a hit with loads
of Friends fans (and some parents {wink} building with their kids).
During the construction, I made the decision to not apply stickers. I thought about cutting
up the sticker-sheet and place them in a temporary manner; yet I could not find any rubber glue.
Realizing the target audience like stickers -- and I do too. However, I would like to express my humble opinion here that it's time for stickers to be removable. Saved for future builds. Re-used in other ways.
We really need to encourage younger fans to re-build, re-build, re-build. That is the spirit of LEGO
construction.
It's OK to have sets built to play and display for some time; as long as the future includes
taking it apart for other creations. There are just too many wonderful new brick designs and colors
to not embrace the inspiration of what our 3D minds can imagine. Future builders 'are' our future.
All colors and bricks were described at time of this review posted; Brickset and Peeron were used to verify some information.
This last image illustrates why I am so very thrilled to have the opportunity to build and
review this set. Mia and I have two things in common: red hair and helicopters.
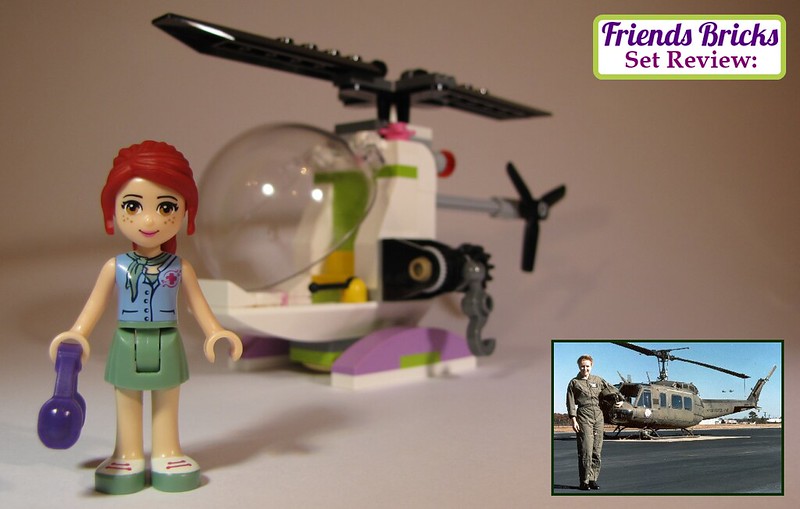
Mia and me by our helicopters
Thanks for reading!
____________________
Visit FriendsBricks.com

1 comment:
Thanks for the wonderful review! I was really into this set as soon as I saw the helicopter on the box, and after reading your review I know it's a must-buy for me. Perhaps I'll let my daughter play with it too ;)
Post a Comment
Note: Only a member of this blog may post a comment.