Ready
for takeoff! Olivia will fly a "Welcome" banner in the skies above
Heartlake City in her Bi-Plane! Just in time for Summer Resort fun and
Go-Kart Racing too!
This set was provided by the AFOL Engagement of The LEGO Group for the purpose of sharing set details with fans. Opinions provided here solely reflect those of our reviewer. Photographs are property of FriendsBricks and are not directed by TLG in any fashion.
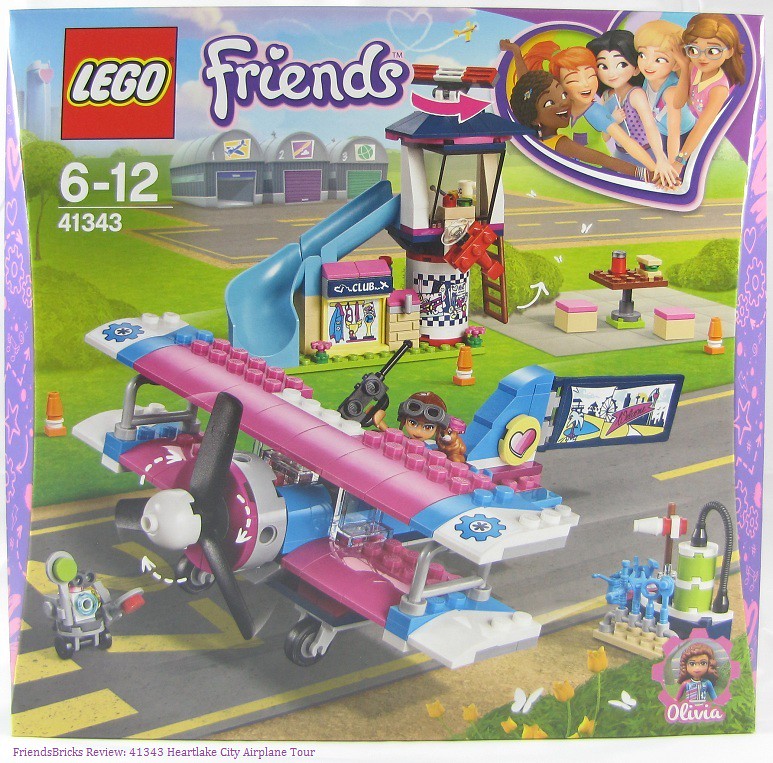
Box front:
In the distance, beyond the 3 hangars, another plane skywriting forms a
Heart-shape in the sky! We can see this and a bit of HLC skyline due
to the new 2018 box graphic style -- which has removed the brand ribbon
from the top, as has been standard since 2012.
Olivia appears to
want a comm check (radio frequency check) from Zobo, who is also
directing her takeoff. The hamster named Rumble has decided to be a
passenger on this "Banner" flight!The heart motif with 5 Friends in their standard attire on the top right indicates this is a HLC set, not any sub-theme. The purple box flanges have extra gear graphics -- Olivia's new icon.
Note: The propellers will actually turn counter-clockwise; the direction of the airfoil's leading edge pitch angle.
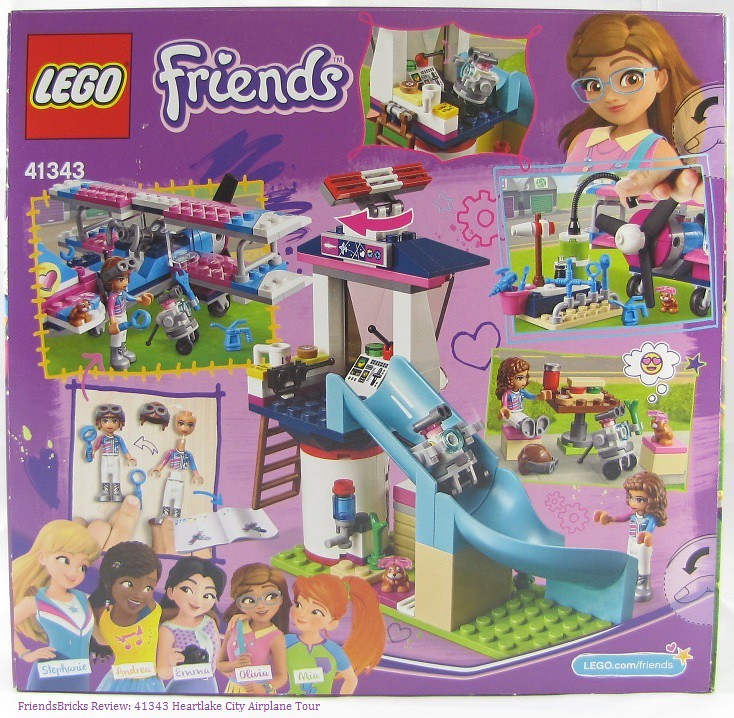
Box back:
Zobo is doing a weather check before helping Olivia do a pre-flight
check. This smaller airport's tower has a rotating radar. An insert
demonstrates fueling up the airplane: Jet-A no doubt.
To get to the runway quick, Zobo just uses the slide. Pilot always get hungry -- so a picnic area is great!
Box sides:
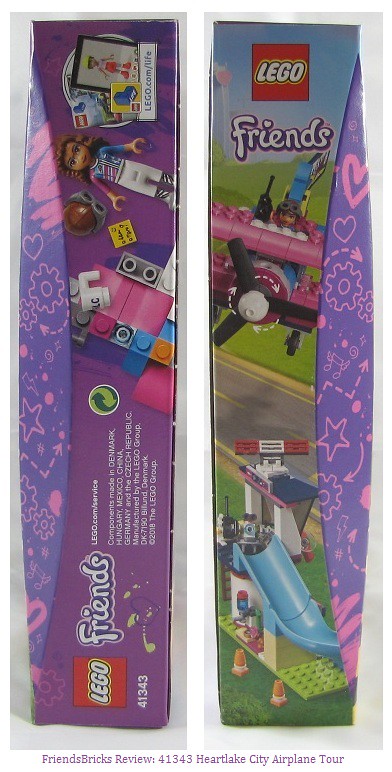
One side has brick collage, Olivia, and LEGO Life ad; the other has the
scene slice all the 2018 boxes have -- and it's very helpful for when
boxes are on a shelf.
Plus, it's always a fun image -- like getting to see Olivia flying!Box top and bottom are product information; except for the 1:1 ratio image of the 2x2 cool yellow tile with pink heart sticker.
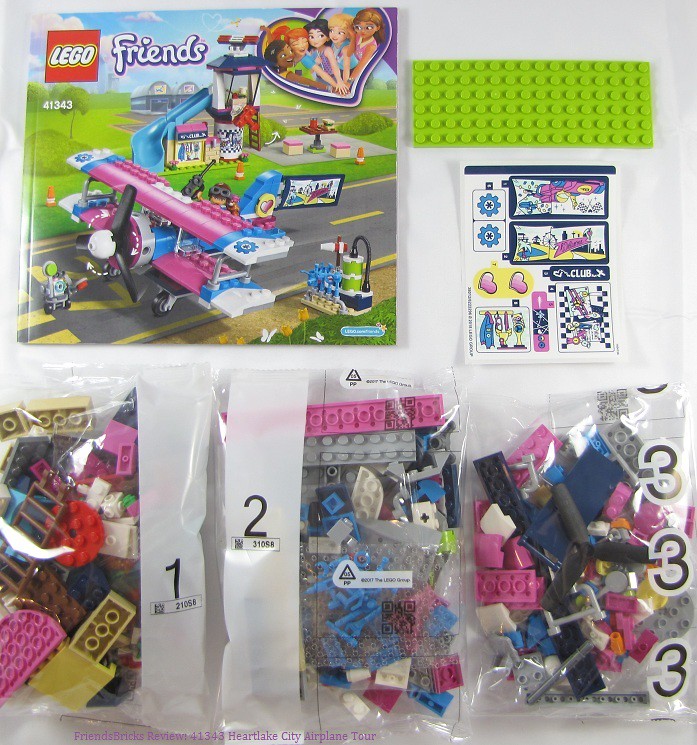
Box contents: Instructions book (95 pages), 6x16 Lime baseplate, sticker sheet, and 3 parts bags with smaller inner bags.
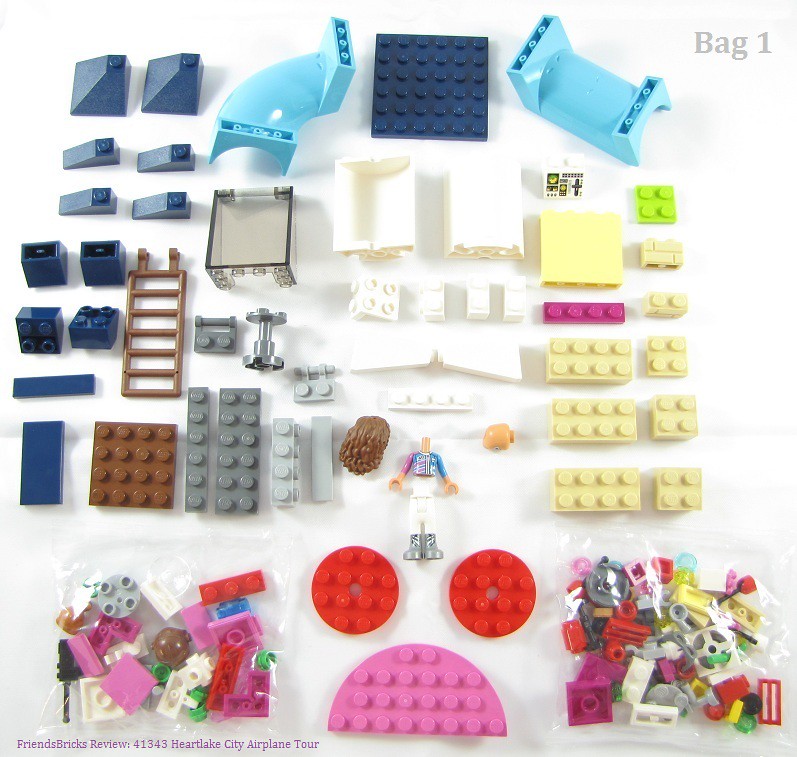
Bag 1:
New parts for 2018 or new in color:
Wall
Element #6074868 Round 2X4X4 in white (base of tower) previous version
only in trans blue (core of Amusement Park Space Ride #41128)
Rare: Trans Brown Inverted Windscreen only in one other set: City Forest Tractor
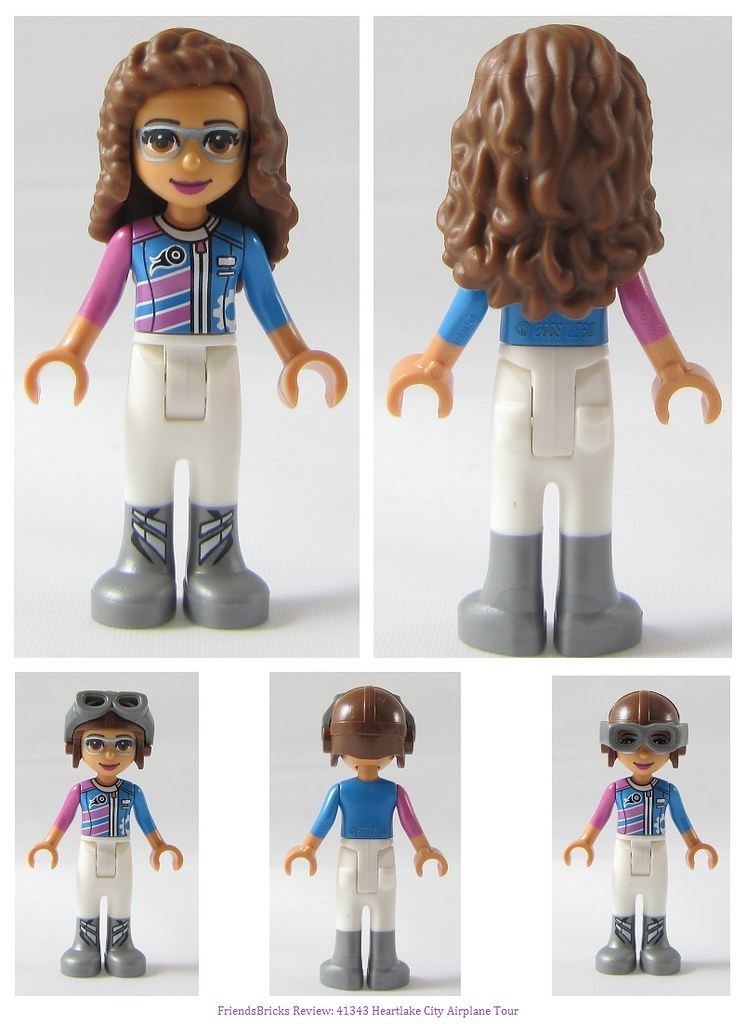
Olivia's torso and pants are new -- we'll see more about that in next images ...
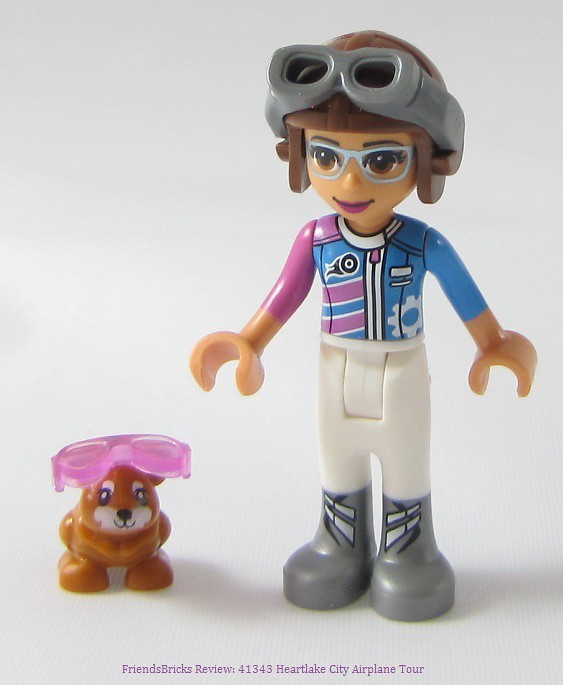
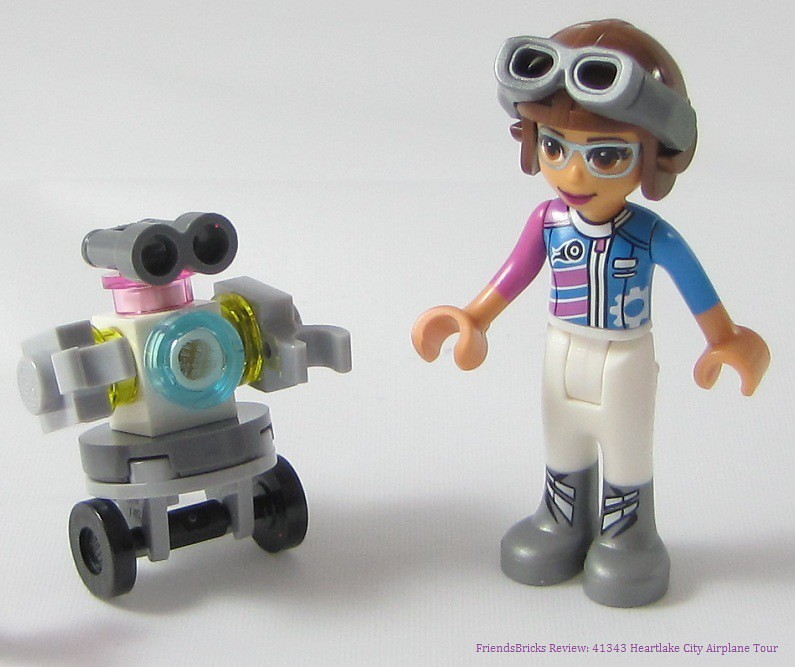
First we build Olivia in her new Racing outfit and pilot's helmet with goggles and give goggles to Rumble too!
Olivia
in 2018 has a new side-braid hair style, olive skin tone, dark pink
lips, and silvery-blue glasses. Her Go-Kart Racing uniform in her
signature colors of dark pink and azure blue has the racing symbol (a
wheel burning rubber!) on one side, with her gear icon on the other.
The
back of her top is solid colors; her hair looks so lovely from the
back. The silver boots have flap-clasp type of closures. She also
wears this outfit in the Service and Care Truck 41348 set.We get to add her pilot's cap with goggles for this set!
Then we build Zobo -- her faithful robot of seven years.
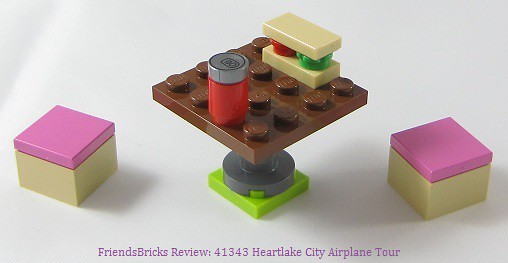
Next we build the picnic table and stools -- because building makes everyone hungry!
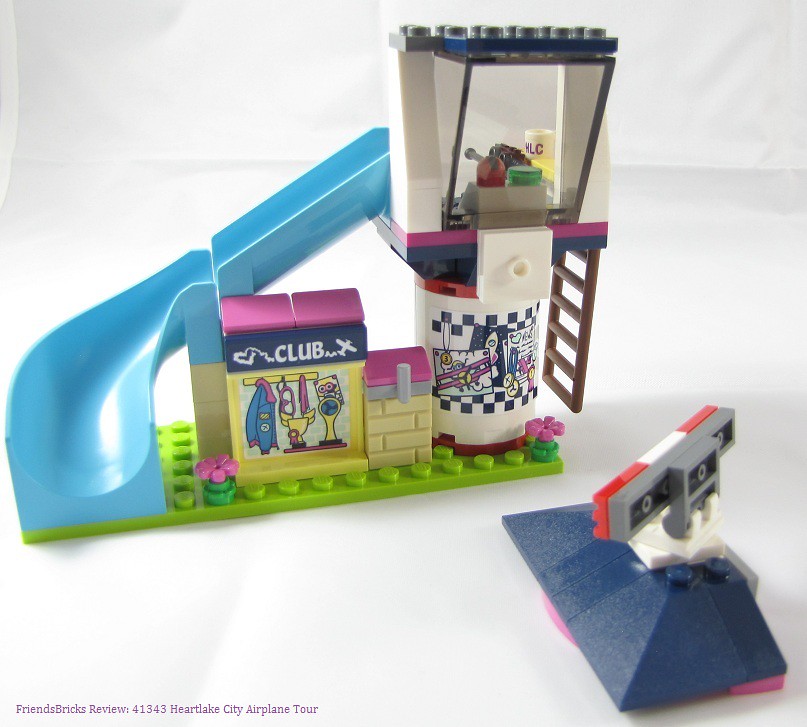
Add
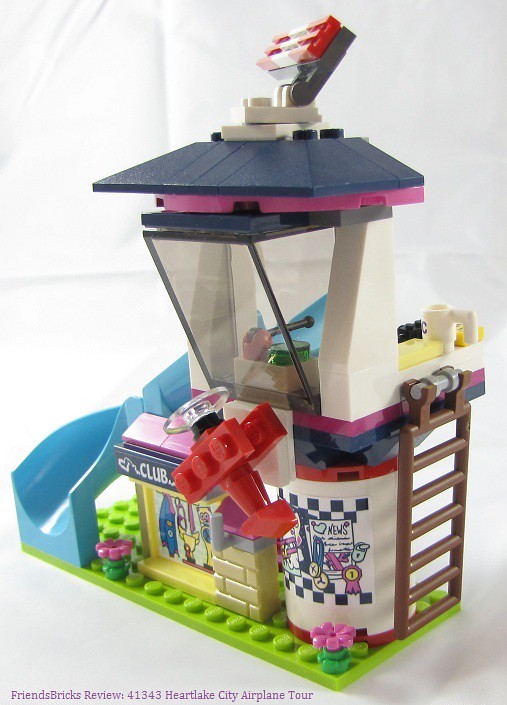
to the lime green baseplate the white tower base (a news bulletin board
type of sticker showing a picture of Olivia flying and various awards;
it also has a lock on a handle -- so perhaps it represents that the
tower base is a secure storage area), then the tan "brick-brick" cap
rack, coat rack panel with "Club" sign and sticker of her flight jacket,
goggles, various trophies, and a cute photo of Zobo!
Then, for
that "instant play factor" (per LEGO Friends Designers) we add the azure
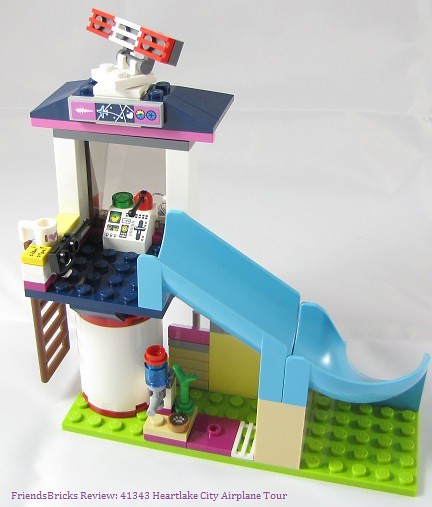
slide -- so Olivia and Zobo can get to the runway quick!The tower structure on top of the base uses those inverted earth blue slopes to raise it before adding the trans-brown window. This type of window allows more views up and down the runway. A ladder for going up into the tower gets clipped to the side.
A radar array panel that swivels up and down, as well as rotates, gets installed on top of the tower's roof.
Now we can add the roof to the tower and see the information the radar is picking up -- as shown on the stickered tile below it.
Inside
we have a console -- which at first I thought would be for weather
monitoring, because at these types of un-manned small airports, there
isn't really any Air Traffic Control service, or much landing guidance
-- it's all visual flight rules (VFR).However, as a pilot taking off -- checking the weather is paramount. "Take-offs are optional; Landings are mandatory" -- is what I was taught in flight school.
The printed slope appears to actually be designed for an aircraft cockpit; with altimeter, gauges, and throttle.
Communications from tower to aircraft is via walkie-talkie, and sticky notes for flight info -- sure do come in handy! The "I <3 HLC" cup let's us know where we are and that pilots need coffee! Yep.
Rumble has a sweet little habitat below the slide with a water dispenser, some greens, and a biscuit treat.
Back to the front of the tower again, we get to build and attach an adorable mini-bi-plane!
Red Baron anyone?!
That really completes the look of this airport tower!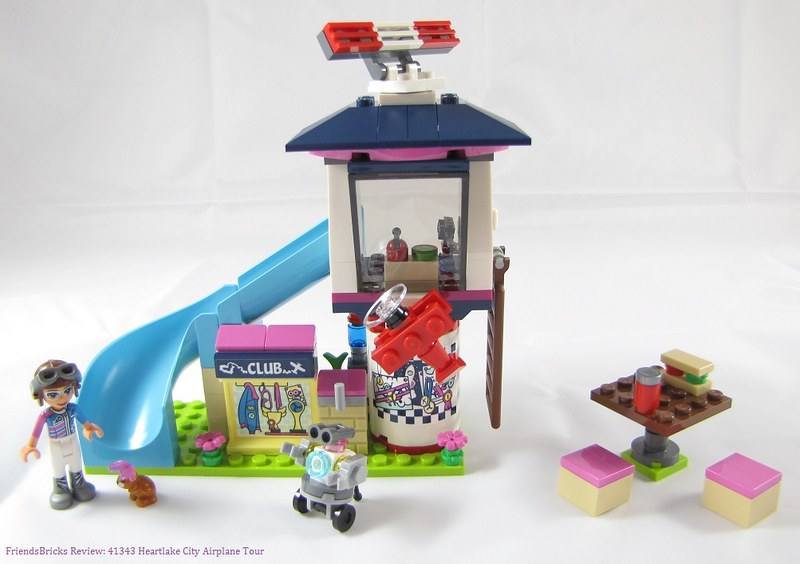 Everything bag 1 builds.
Bag 2 parts:
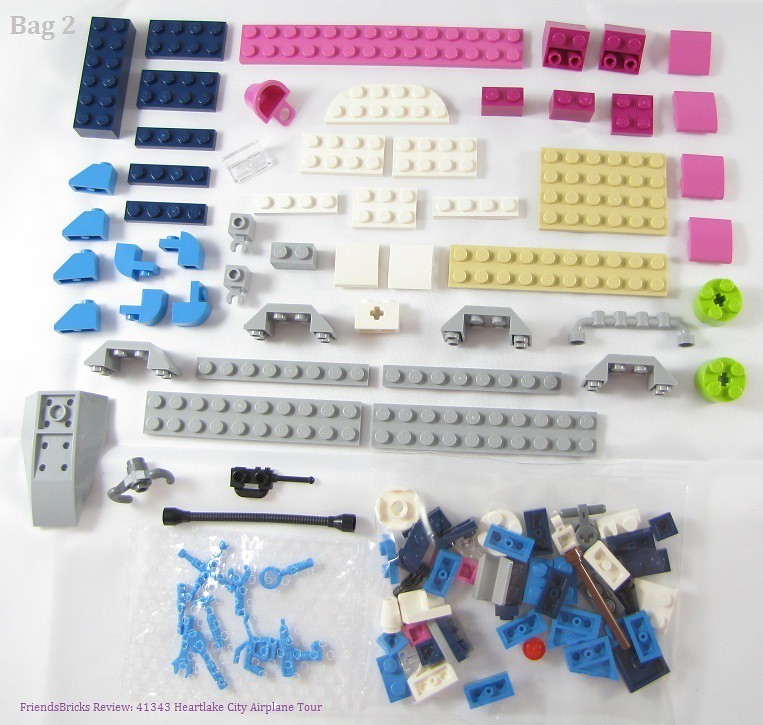
We get the bricks and plates to start building an airplane, with a smaller bag of detail parts, and a bag of azure tools.New for 2018: 2x2x2/3 plate with bow (slope) is new in dark pink.
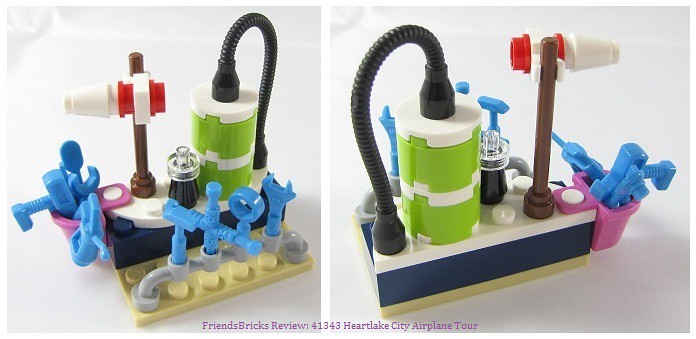
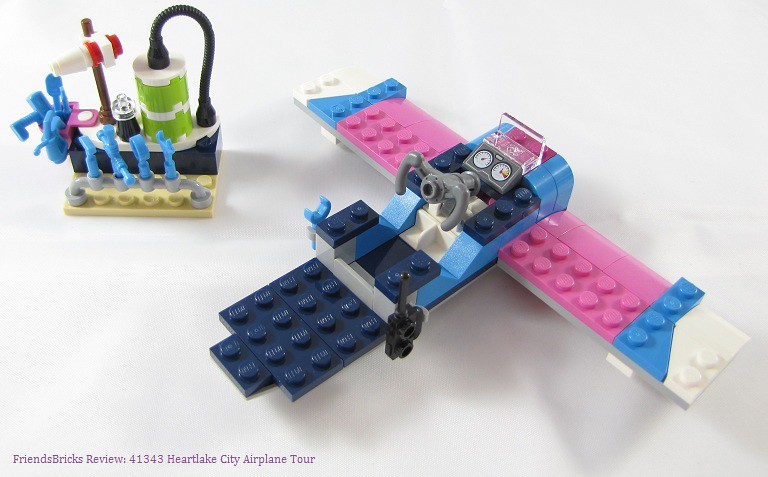
First we build the fuel tank, oil can, wind sock, tool rack and bucket station.
My first tool set from Friends was dark purple; azure is nice, yet I'd like the newer molds in dark purple now.
The inkwell piece seems to be used more as bottle tops than for ink and quill.
I like Lime as a choice for the Jet-A fuel tank -- and the black hose is a good choice -- although a grey "gun" spray nozzle to attach would be more accurate to re-fueling aircraft.
Although the bucket is cute -- tools not secured near a runway are subject to becoming FOD (foreign object damage) to any aircraft, if they become airborne.
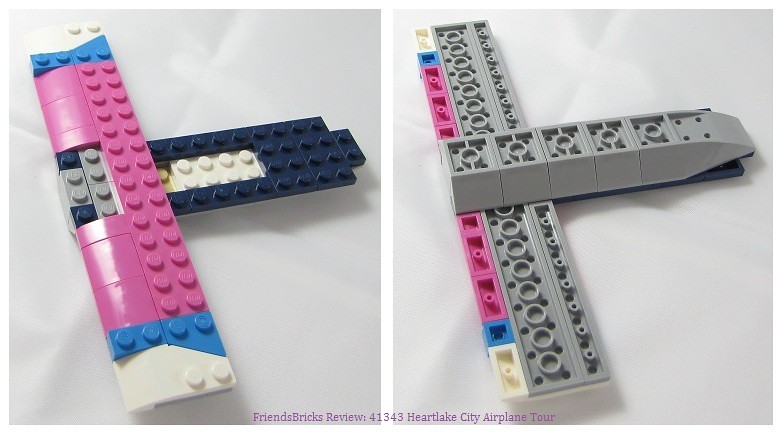
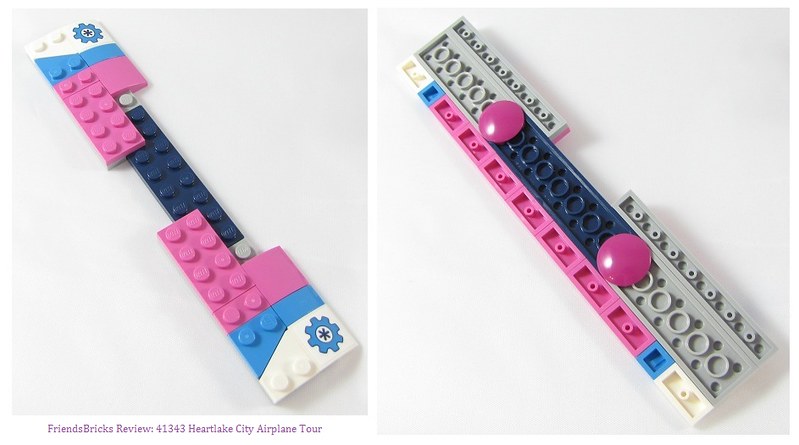
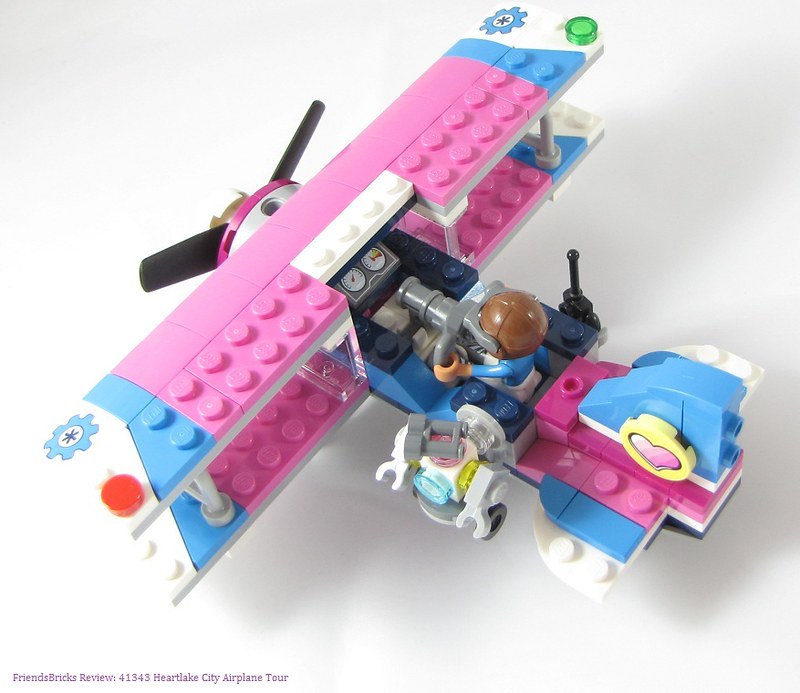
Next
we build the base of the fuselage and each wing separate before
connecting them with the 2x14 bright pink plate; then connect to the
fuselage.
I really like how the azure and white angled plates form a wing pattern on top of a wing. The plane's colors, of course, are Olivia's dark pink and azure!
We turn this section over to attach magenta slopes on each side of the grey inverted double slope pieces -- for future assemblies -- because then we turn it back over to add the front engine housing and cockpit.
Here is the engine compartment, windscreen, instrument console, yoke (flight controls/steering wheel), and cockpit.
I'm not 100% sure about having a wrench attached to the side; it should be secured inside a compartment.
This plane does not have built-in avionics, so we'll use a walkie-talkie. I'm happy to see a Technic steering wheel (#6082043) for the flight control yoke.
Everything
bag 2 parts build. I love the choice of printed slope for the flight
console, which has been used in several Friends vehicles.
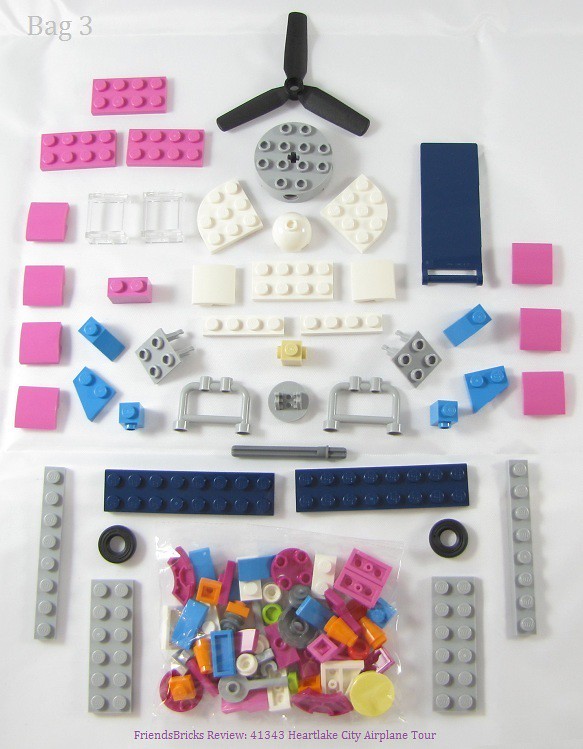
Bag 3 parts: For finishing bi-plane with wings and more --
Rare: Inner bag holds 4 of the 2x2 curvy tiles in magenta; otherwise only found in Snow Resort Hot Chocolate Van 41319; and Two 1/4 Circle Tile 1X1 in dark azure only in 2 other sets.
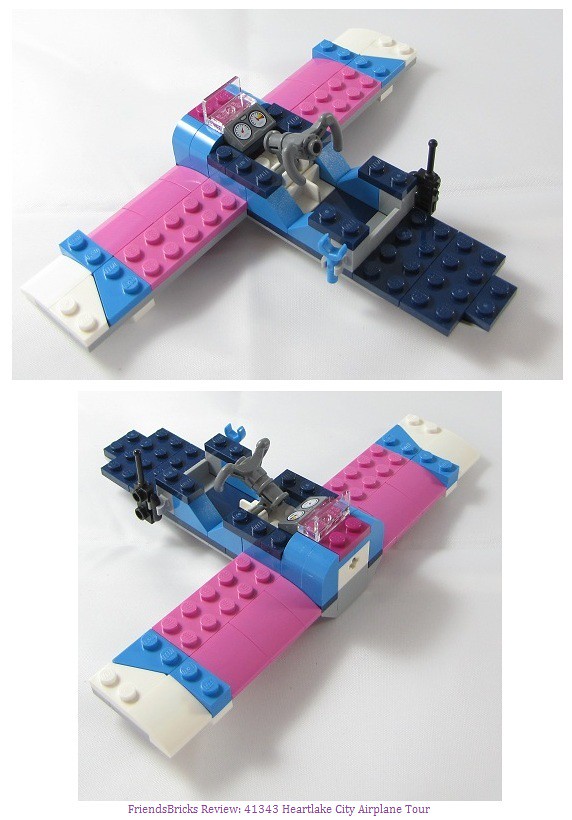
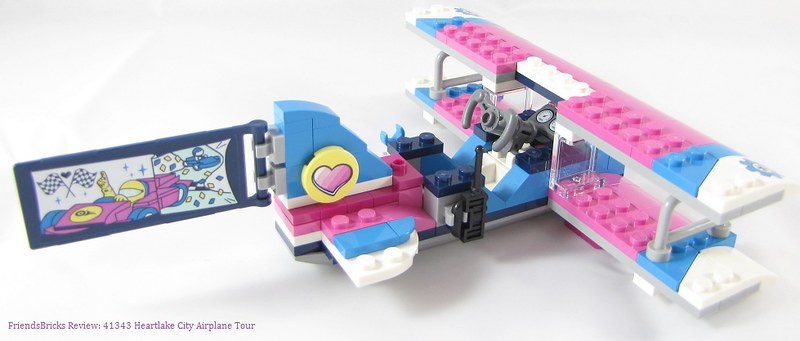
We
get to add the synchronized elevators (with dark azure 1/4 round tiles)
and 5 magenta jumpers to the rear section of the fuselage. Then build
the tail section with stacking dark azure bricks, adding cool yellow
stickered 2x2 round tiles with pink-washed heart designs -- Olivia's
former icon.
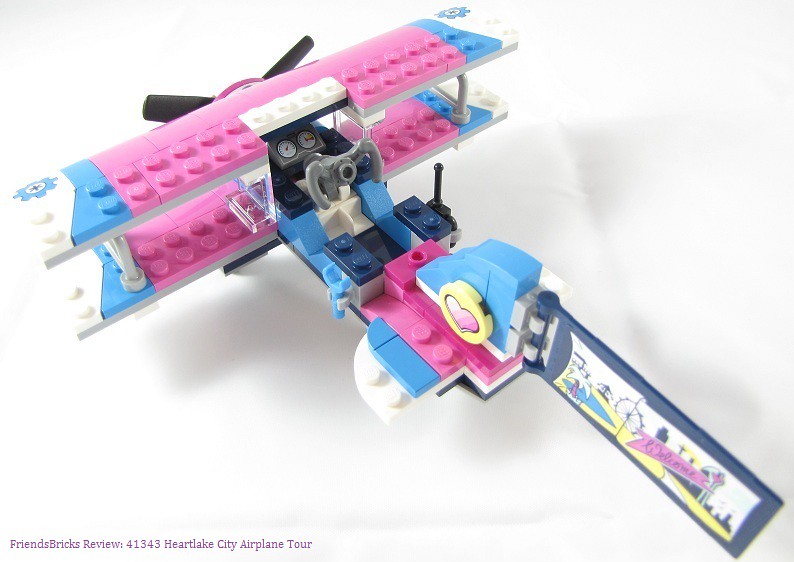
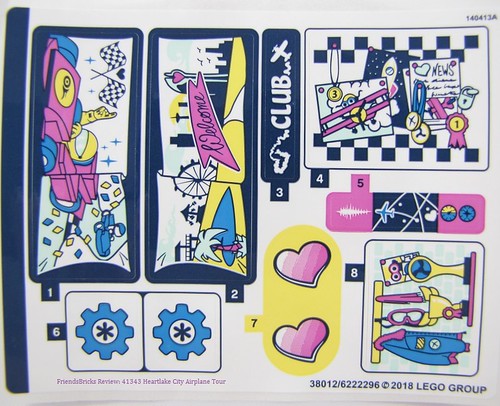
The banner of earth blue gets stickers on both sides;
one for the Go-Kart races, and one for a general "Welcome" to Heartlake
City and the new HLC Resort.
Then
we build the upper wings separately and connect them using an earth
blue plate. These wings have the same dark pink and azure pattern, yet
we add stickers with azure gears on the white tips -- to show Olivia's
icon.
Magenta inverted discs add stability to the underside plate connections.
Yay -- we finally get to attach the upper wings and tail rudder section! Looking spiffy!
At first I would have thought the banner would be added last, yet it didn't get in the way of building.
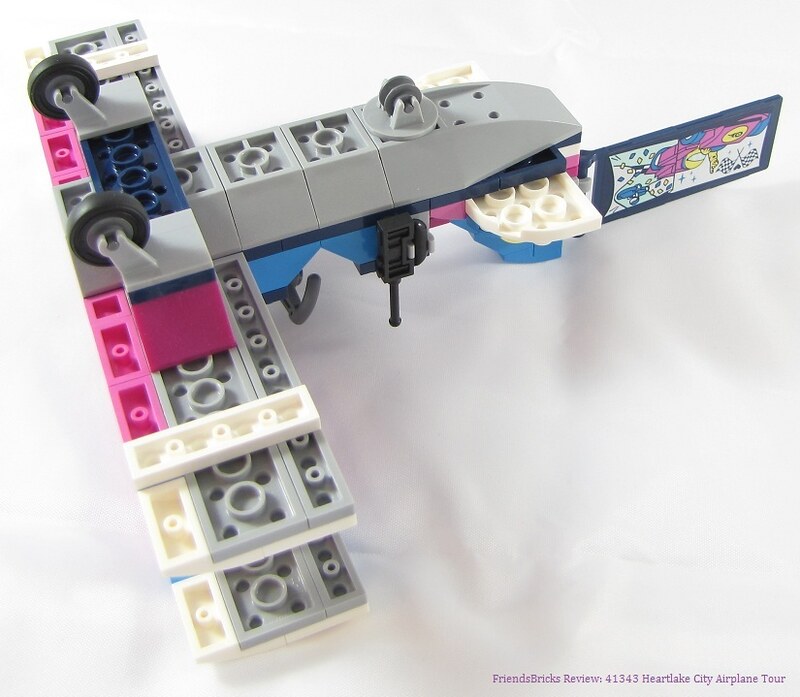
Now we flip the plane over (the only time I actually liked that concept) to add the Landing gear with wheels.
I love the little hub fork piece in dark grey for some reason.
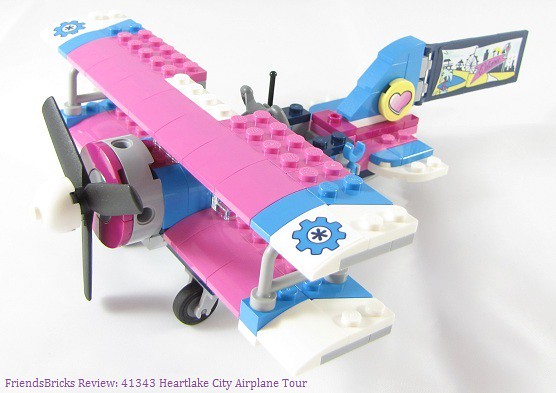
Then flip the plane back over (whew!) and add the engine and propeller.
Bi-plane ready for a pilot!
Last to build are the red and green signal paddles and the orange safety cones.
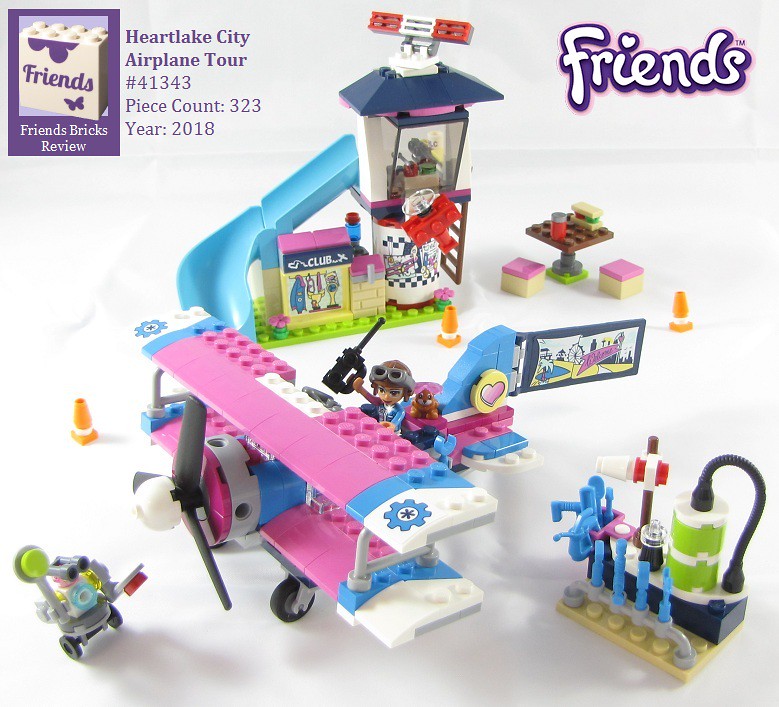
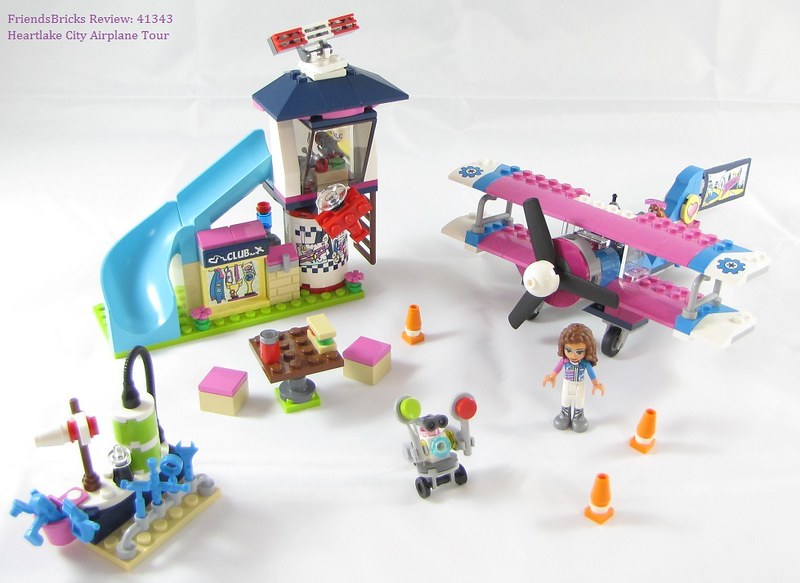
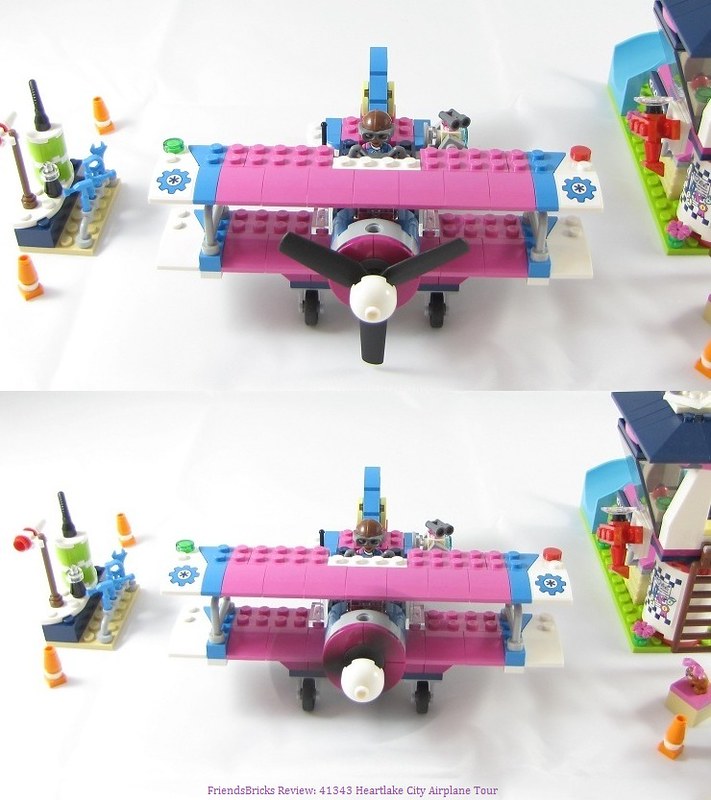
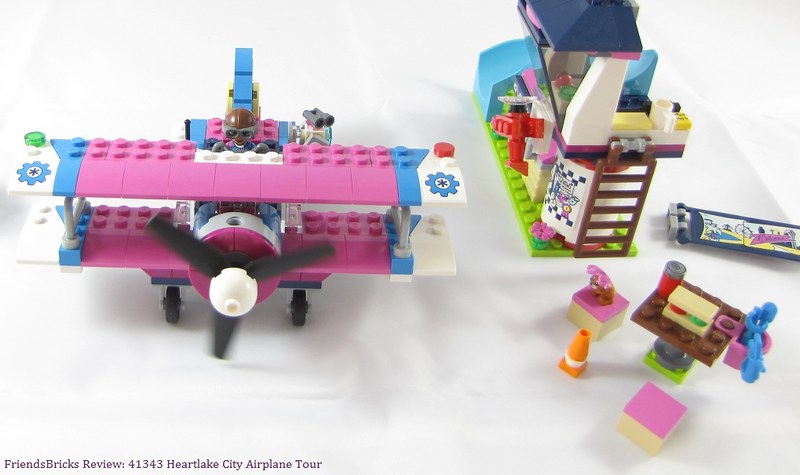
Here is everything this set builds -- arranged per last page of the instructions.
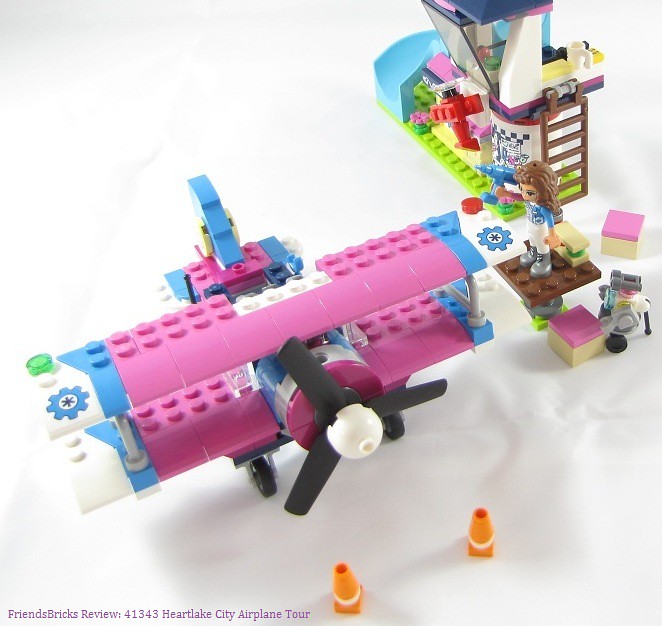
Safety
modification is first order for Olivia after building the set -- she is
installing general aviation rules' "right-of-way" indicators. Now when
she flies, she will have the right to fly past when crossing paths with
another aircraft, if they are to her left side.
I'm not sure why
the designers omitted this aspect; they were part of the very first
Friends airplane from 2012:-- Heartlake Flying Club (3063) --
I just used some spare parts; since there wasn't a trans red 1x1, I used a 1x1 red tile and trans green 1x1 tile.
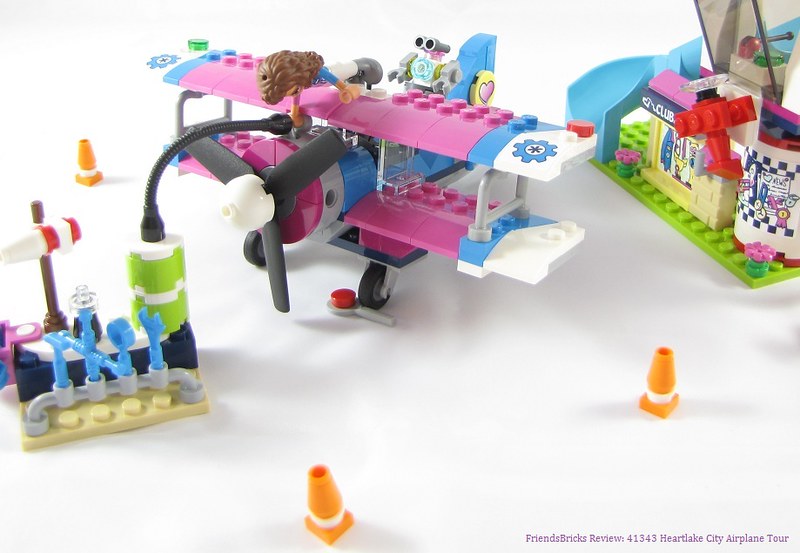
Next
she adds some Jet-A fuel while Zobo monitors the cockpit. They placed a
signal paddle under one wheel to serve as a brake chalk -- to make sure
the airplane doesn't roll during re-fueling.
Safety first!The black hose has a tube end, so the only thing in the box that would fit into it is a spare gray pump-head.
By the way, I love the way the magenta curvy tiles look on the engine front!
She meant to hang her flying cap on the hook next to the "Club" rack -- oops.
Yay, the yoke (Technic steering wheel) is perfect for mini-dolls to be able to grab and hold!
Due to 2-points of hinge adjusting connections -- similar to a
real-life cockpit controls. I like the way it looks and plan to use it
in future vehicle creations instead of the small black steering wheel
(which not even minifigures can grab).
After removing the wrench, Zobo can attach to that clip using a paddle and inkwell piece. He can at least fly with Olivia now; although Rumble's seat is empty -- it's too small for this robot.
Sure, maybe not R2D2's vantage point, yet there will be some nice Bi-plane breeze!
Weather? -check; Comm? -check; Fuel? -check; Flight controls? -check; Runway 27 clear? -check; Wind sock (take off into the wind!) -check; and Ignition ... Engine check and Propeller = good RPM -check!
"Ready for Takeoff!"Bucket of tools secured to the picnic table -- no FOD for her today! Although Rumble may eat her sandwich while she's gone.
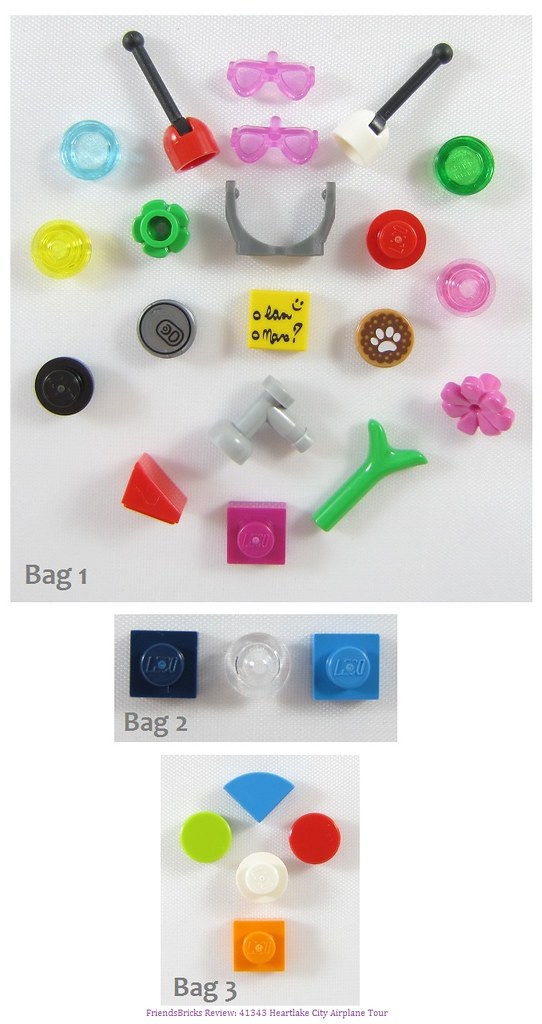
Spare parts from all bags. Bag one is a goldmine! Bag 2 has a clear inkwell. Bag 3 has a yummy dark azure quarter round tile!
Here's a close-up of the sticker sheet -- in case you missed the banner when it flew by ~~~
Olivia had a safe return landing! Now it's time to attach the banner and feed Rumble!
Summary:
The section I enjoyed building the most is the tail -- with its stacked azure bricks!
Olivia has been a pilot before; flying a helicopter for Heartlake Hospital. Of course, she looks more "official" with a flying cap and goggles! This is the first small plane since 2012's Heartlake Flying Club #3063 with Stephanie.
For some reason this aviation set appeals to me more than the Heartlake Airport or Private Jet sets. I think because this is more localized to HLC and a Bi-plane evokes the prospect of fun flying: Not only with acrobatic wing-riders (which would be fun to do a series with this set!), yet with aerobatics, sky-writing, and putting on air shows.
As for parts, this good amount of dark pink sloped and variety of other pieces certainly lend to re-building into other creations. The tower is a fun build, and although I didn't focus on it very much -- I like it as a structure and would like to spend time modifying it a bit. The radar array is great and the overall design is spot on. I could also see using parts of the build as a Lighthouse.
Play-ability is off the charts on this one for me. I could have taken a dozen more photographs. I think this set can appeal to any LEGO fan; with personal modifications, can blend into any LEGO City scene.
Brickset was used to verify new parts



2 comments:
Neat set!
Very informative. Fun set. Cant wait to get one for myself. :)
Post a Comment
Note: Only a member of this blog may post a comment.